SMALL STEPS. USEFUL SKILLS.
Save a new contact
Store someone's name and telephone number.
Use the pictures where shown. Follow the short instructions between them.
STEP 1 OF 9
Open your apps
Swipe up on the Home Screen.
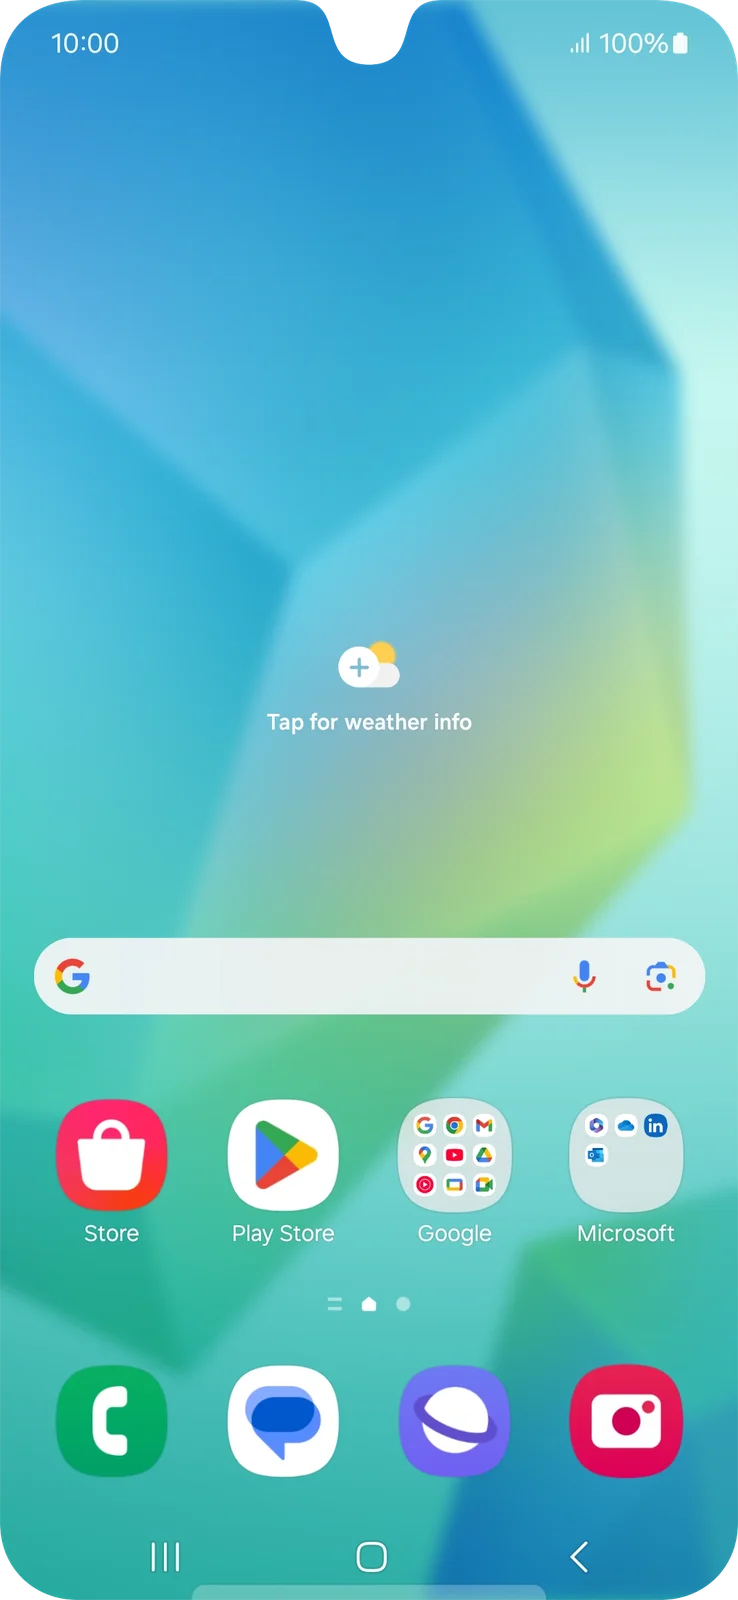
The Home Screen before opening the apps list.
Prefer to see all the steps together?+
STEP 1
Open your apps
Swipe up on the Home Screen.
The Home Screen before opening the apps list.
STEP 2
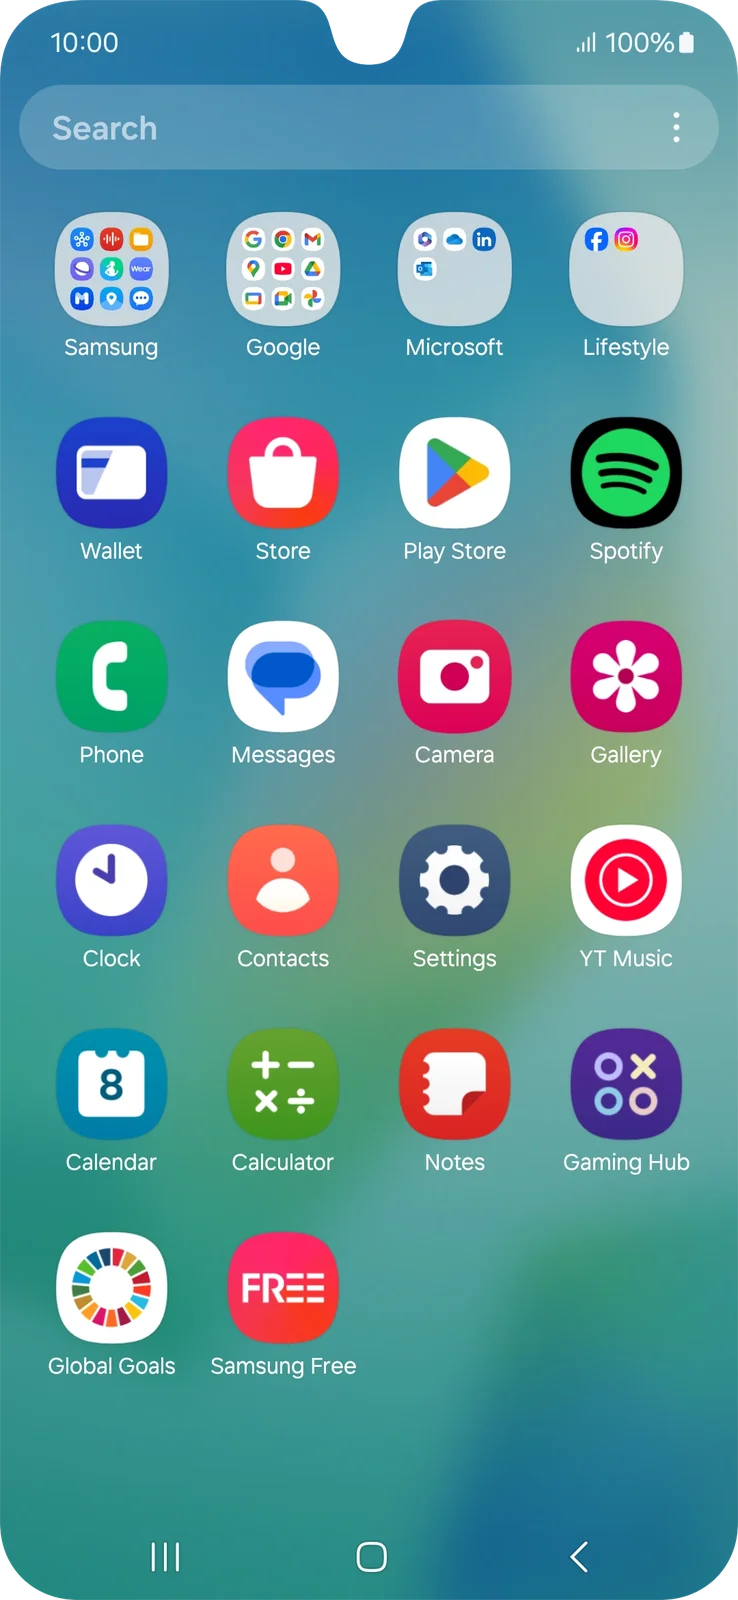
Open Contacts
Tap the orange Contacts icon.
Contacts is the orange person icon beside Clock.
STEP 3
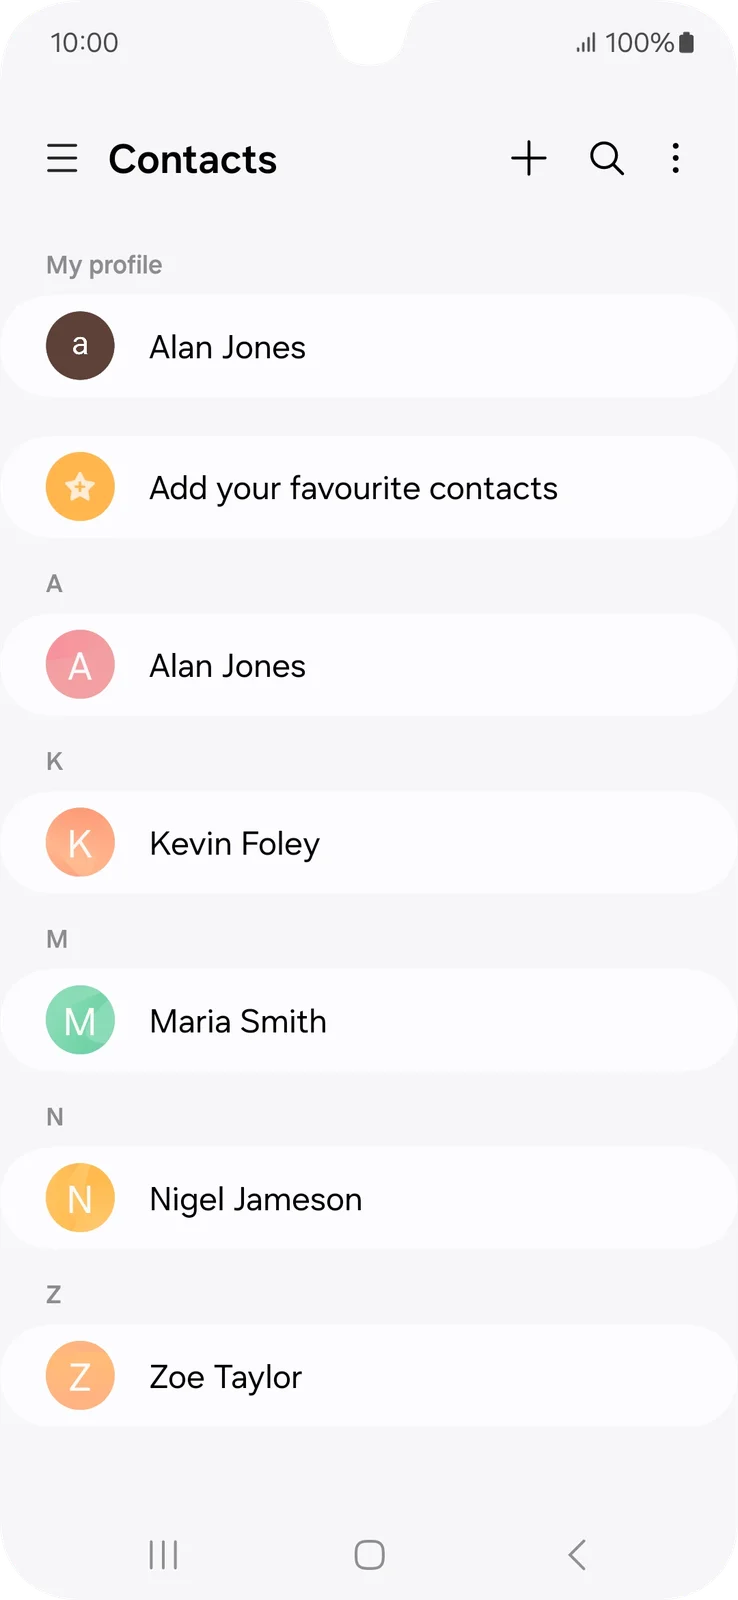
Add a contact
Tap the plus near the top right.
The plus is beside the search icon on the Contacts page.
STEP 4
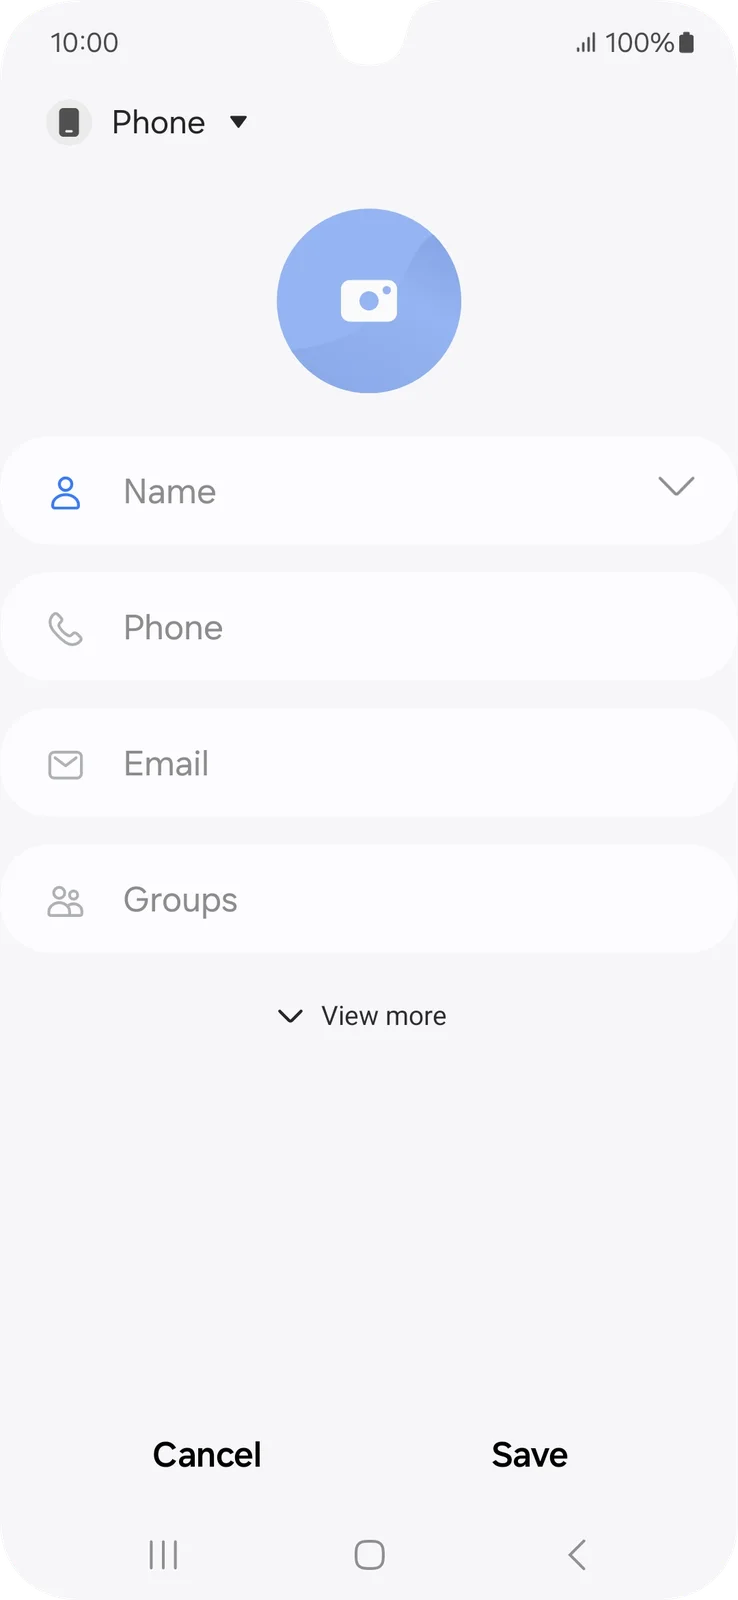
Check where it will be saved
Tap the storage choice at the top left, shown here as Phone.
Phone is the current save location above the blank contact form.
STEP 5
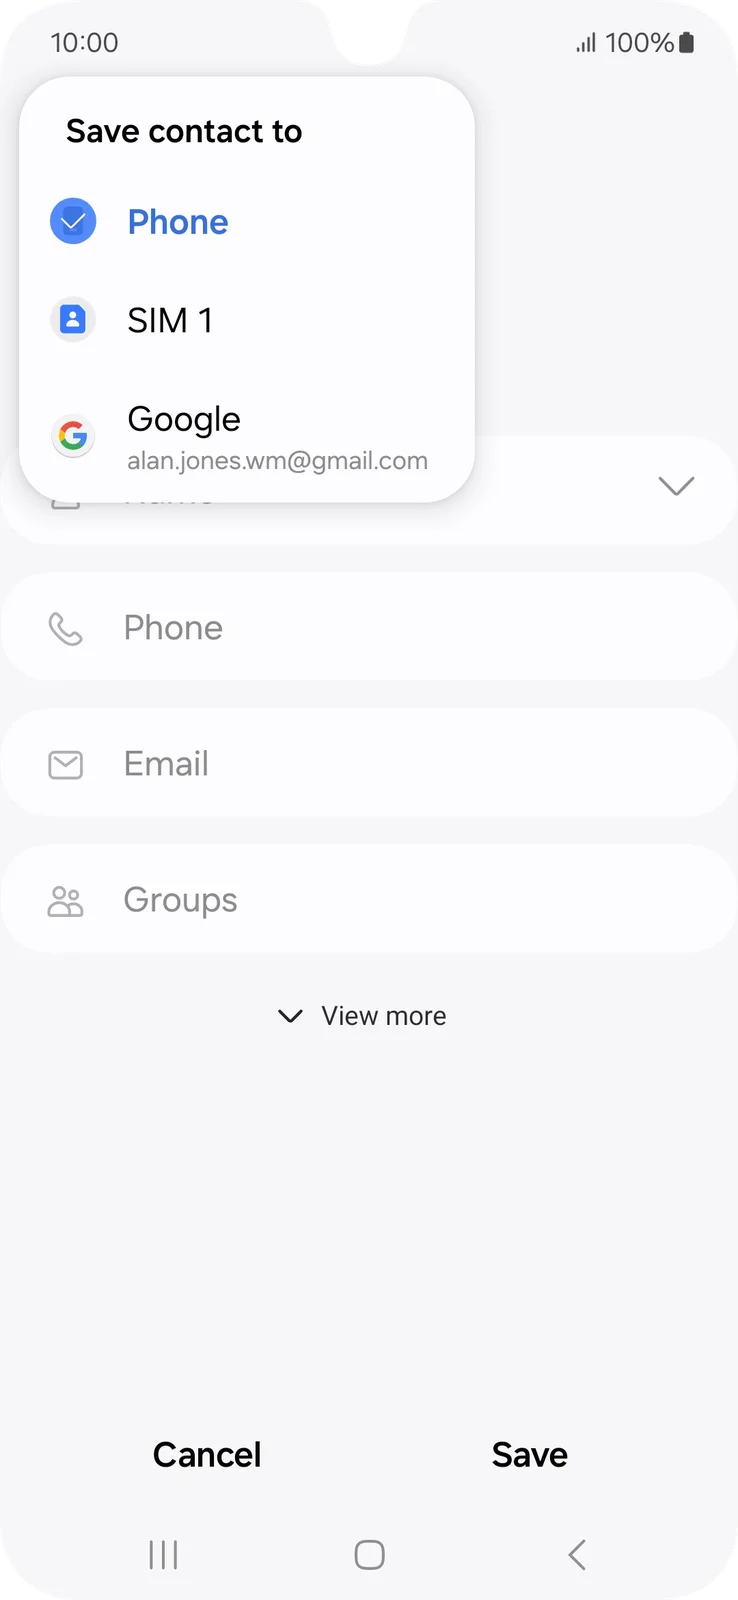
Choose a save location
Choose Phone for this device, or your own Google account if you want to save the contact there.
The menu offers Phone, SIM 1 and an example Google account.
STEP 6
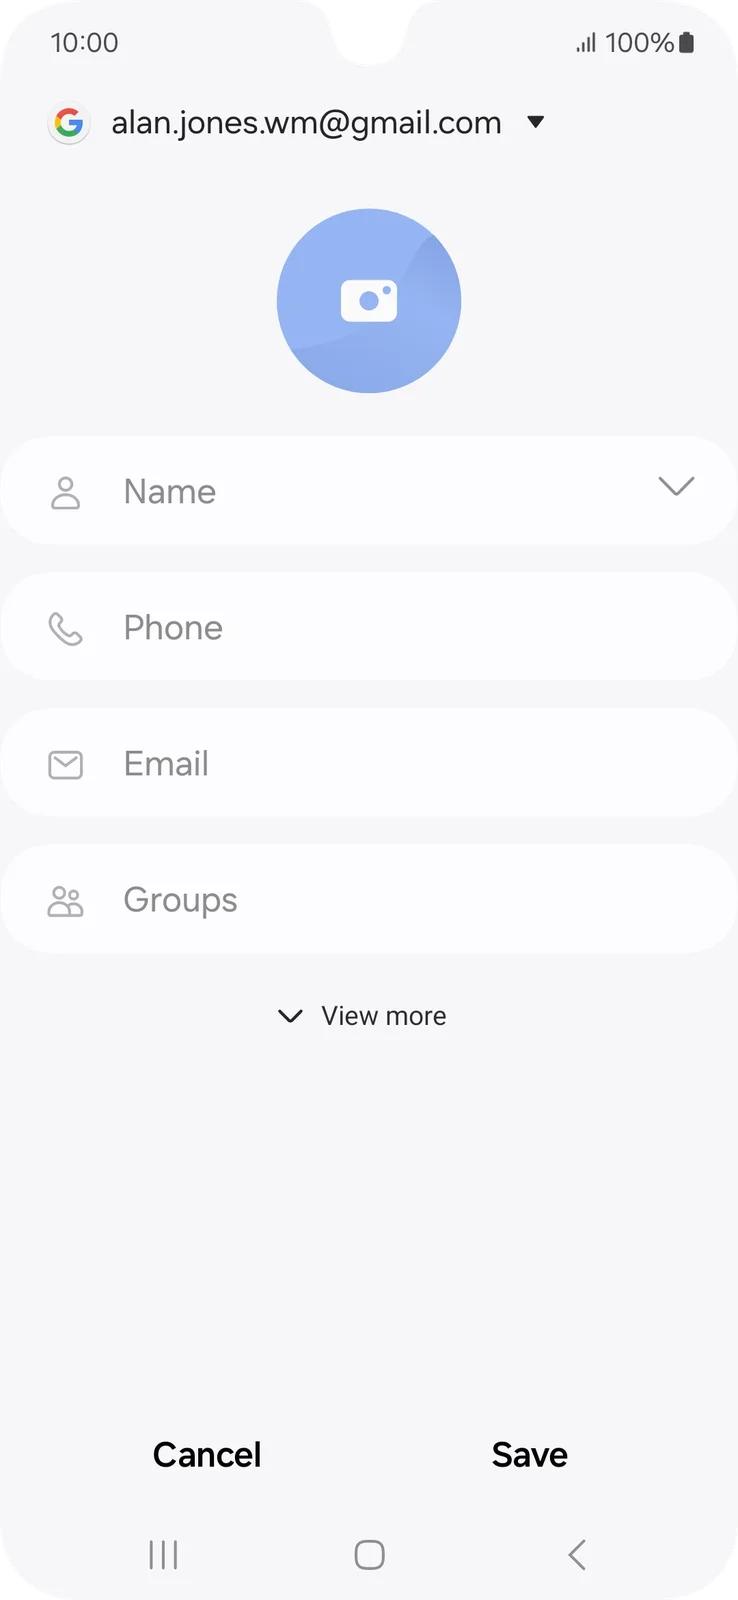
Enter the name
Tap Name and type the person’s name.
The blank Name field is below the profile picture.
STEP 7
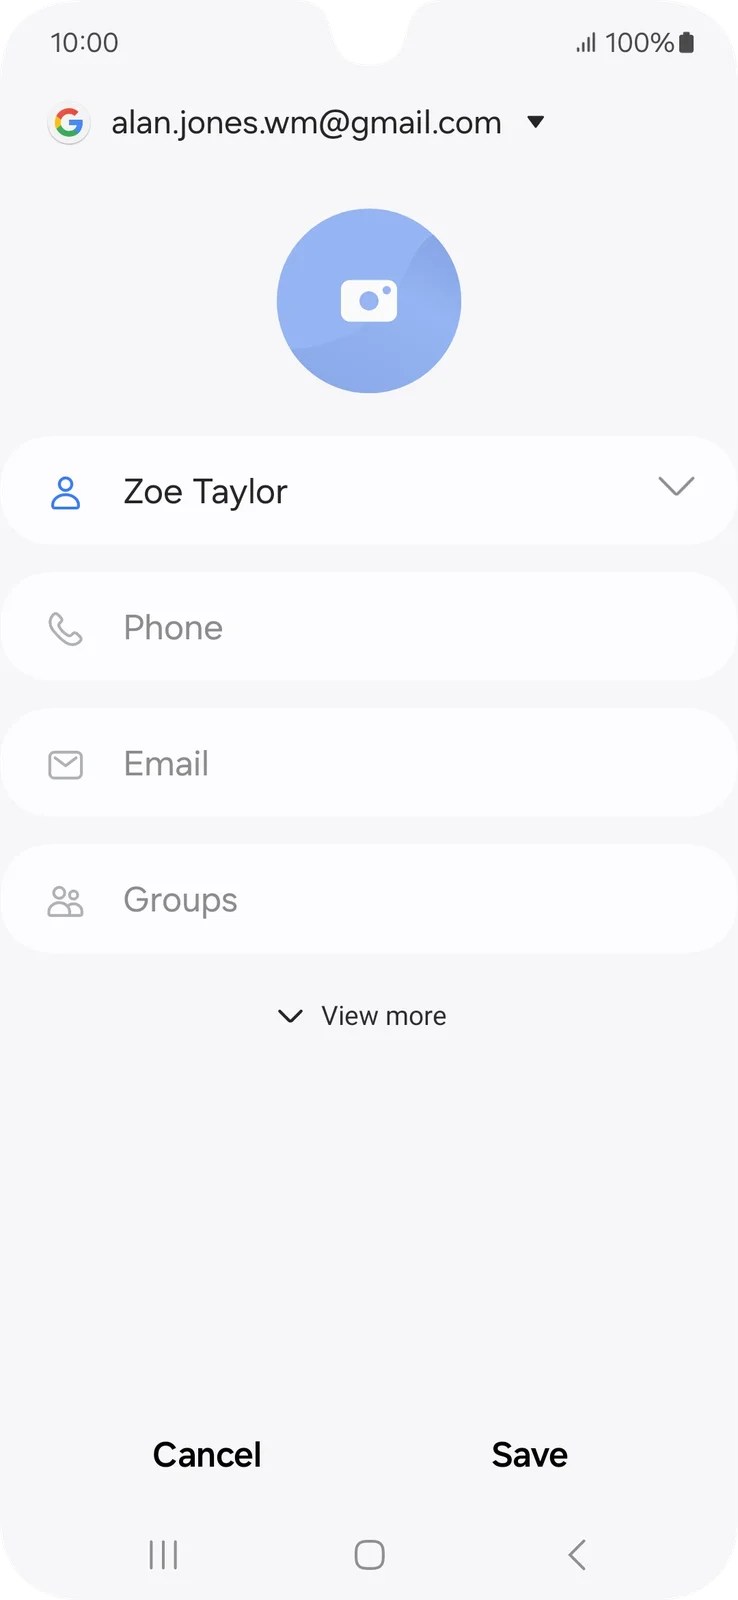
Enter the phone number
Tap Phone and type their number.
The example name is filled in; the Phone field is still empty.
STEP 8
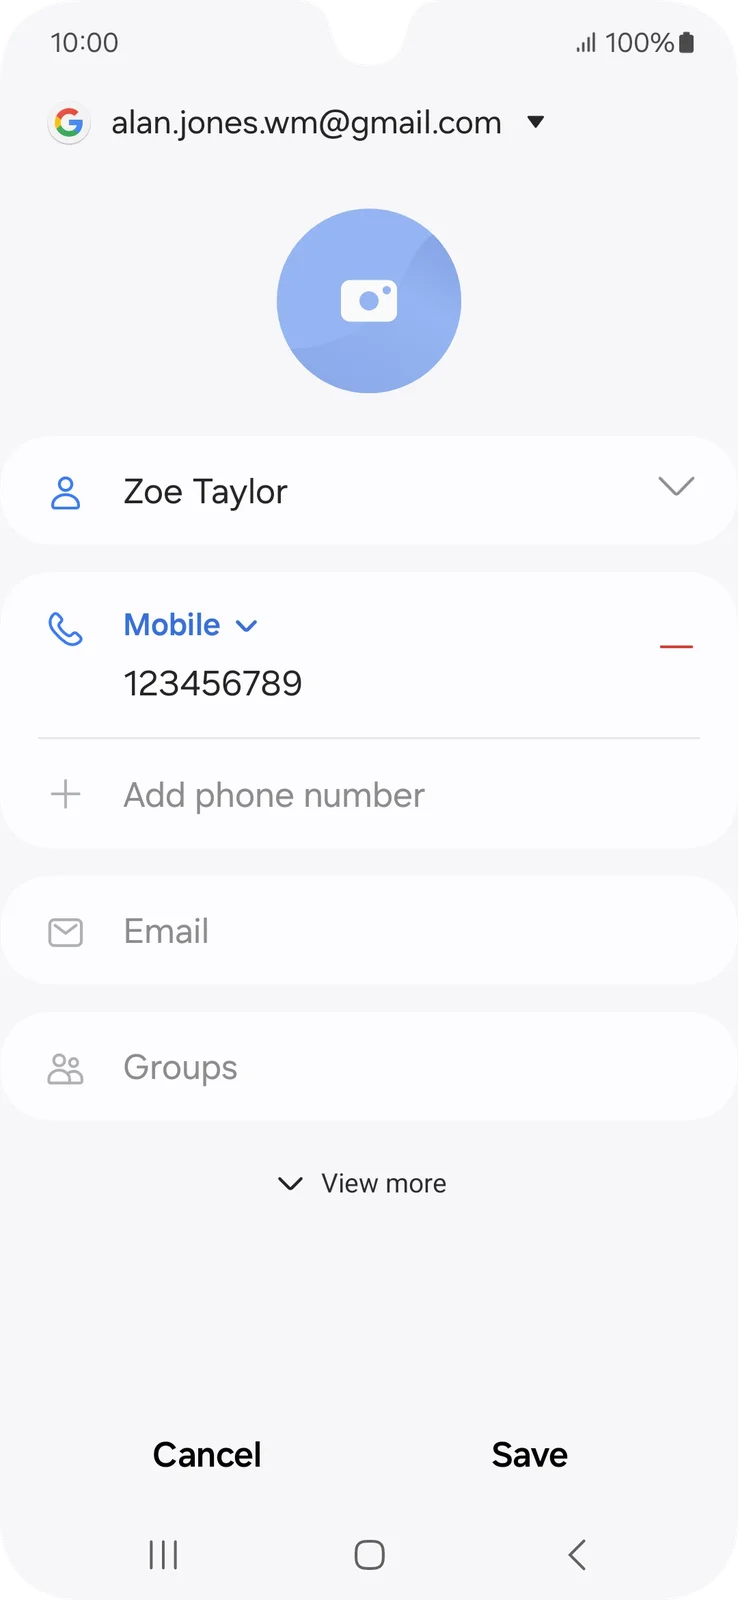
Check and save
Check the name and number, then tap Save at the bottom.
Save is the bottom-right action beneath the completed contact form.
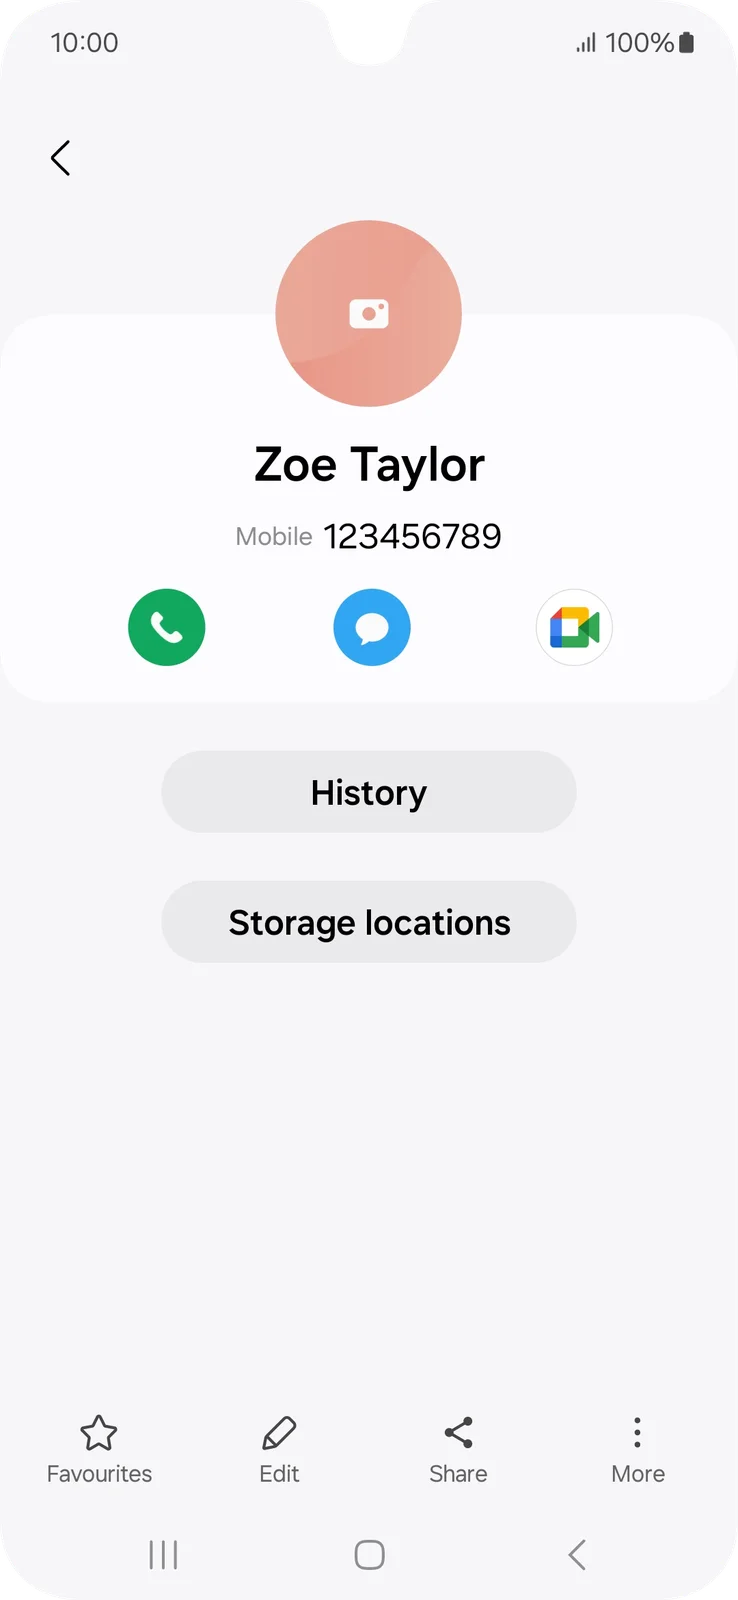
STEP 9
Check the saved details
Check that the contact card shows the correct name and number.
The saved example card shows Zoe Taylor and an example mobile number.
IF SOMETHING LOOKS DIFFERENT
A little help along the way.
Your menus may look different after an update. Look for the same control name and take your time.
I cannot find that option+
Check that this guide covers your device and software. If the names do not match, use the manufacturer’s instructions linked below for your model.
I need to go back a step+
Use Previous step or select a step number above. This changes the guide only; it does not undo anything on your device.
Are these pictures of my device?+
They are example screens showing exactly where to tap. Your names, apps, wallpaper and layout may look a little different, but the options you need are the same. Some pictures show what you should see after a step.