SMALL STEPS. USEFUL SKILLS.
Attach something to an email
Attach a picture or document using the Gmail app.
Use the pictures where shown. Follow the short instructions between them.
STEP 1 OF 9
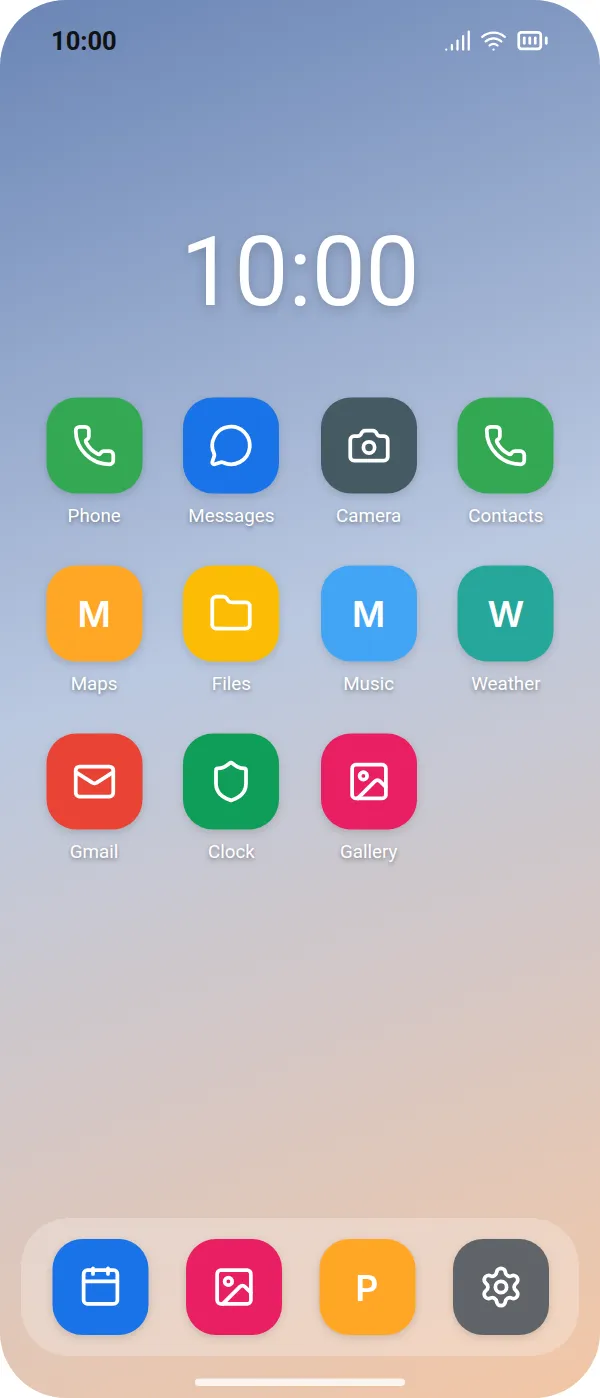
Open Gmail
Tap the Gmail app.
Prefer to see all the steps together?+
STEP 1
Open Gmail
Tap the Gmail app.
STEP 2
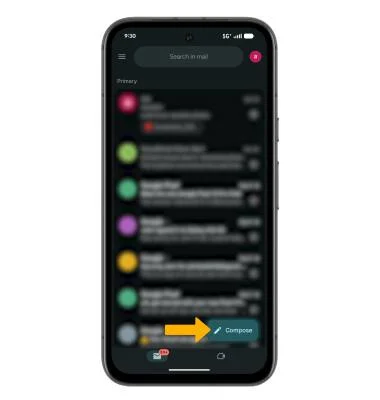
Tap Compose
Tap Compose at the bottom right.
Open Gmail first. The yellow arrow marks Compose. Inbox contents, keyboard and appearance may differ on your phone. This is Gmail, not Samsung Email or another mail app.
STEP 3
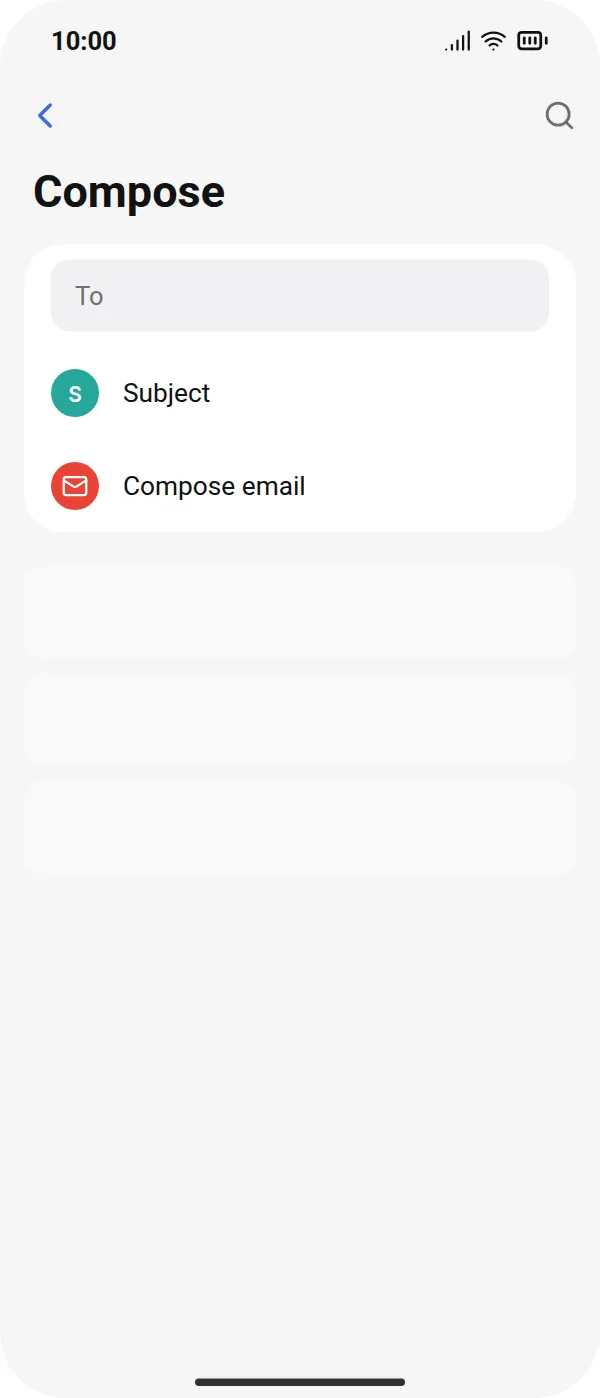
Add the recipient
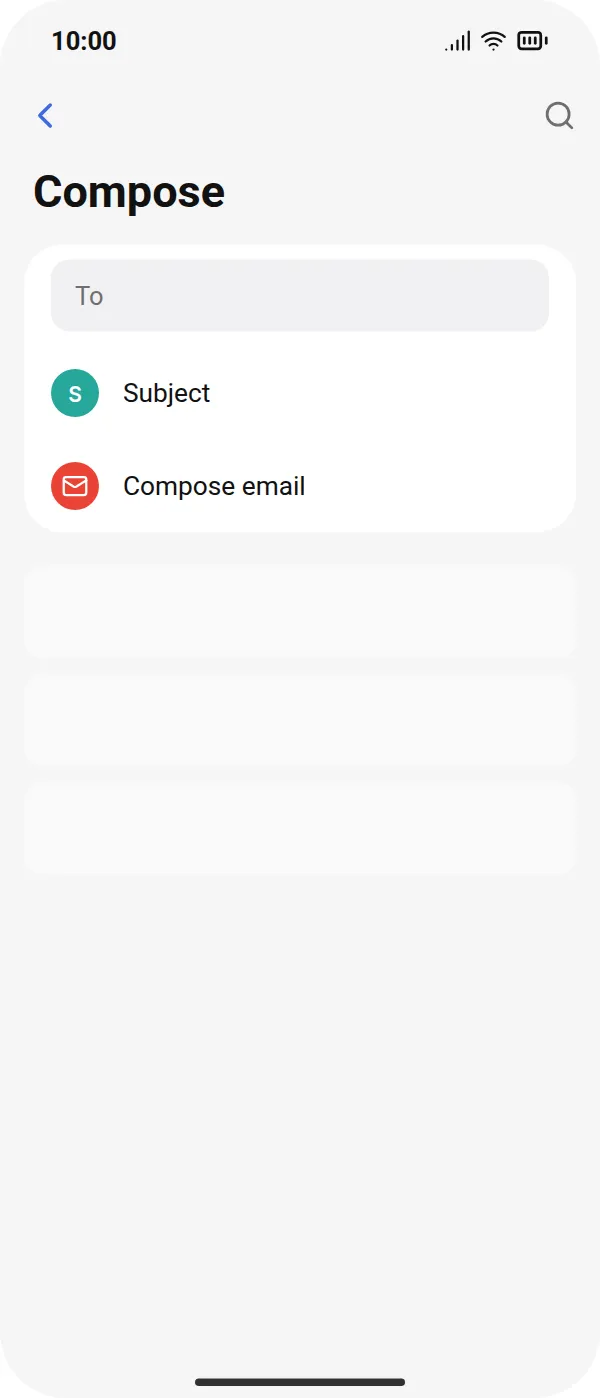
Tap To and type the email address of the person.
STEP 4
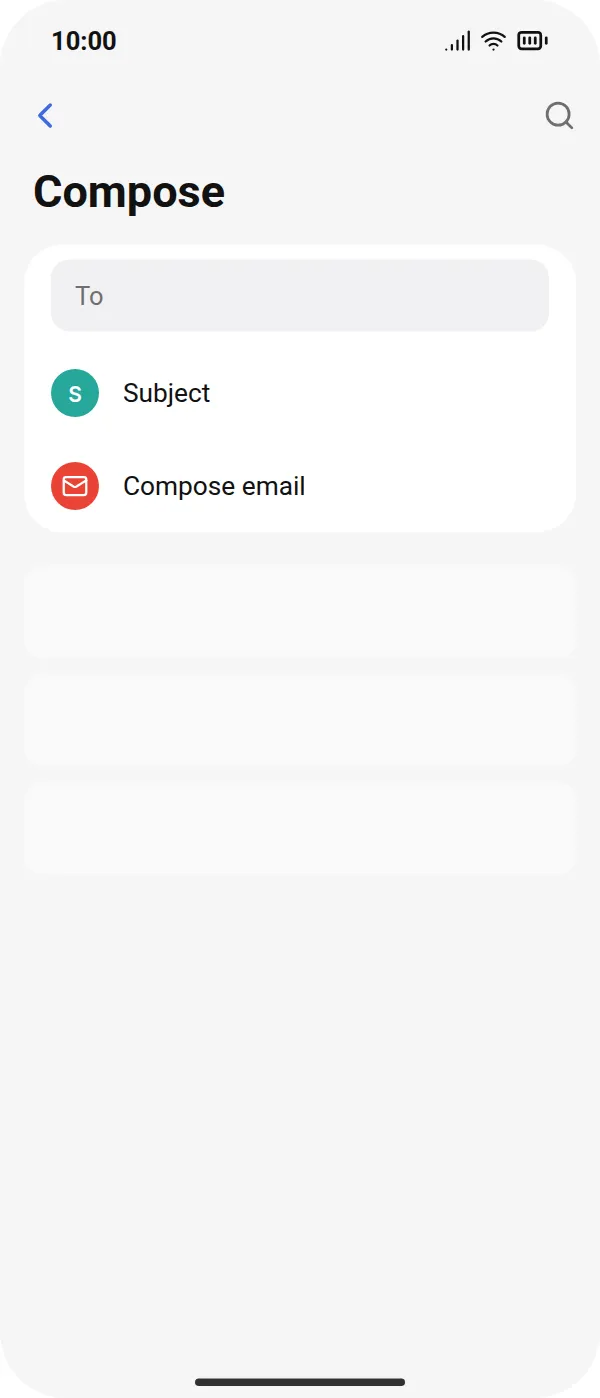
Add a subject
Tap Subject and type a short title.
STEP 5
Write your message
Tap Compose email and type your message.
STEP 6
Open attachments
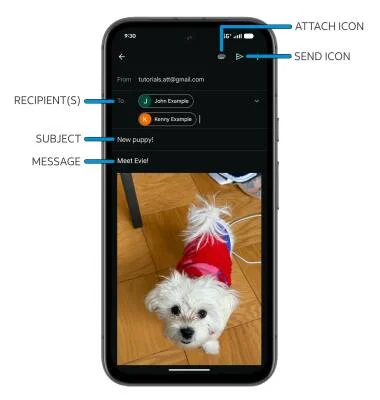
Tap the paperclip at the top right.
The labelled Attach icon is the paperclip near the top right, beside Send. This example already contains a photo to show where attachments appear. The file chooser itself is not pictured.
STEP 7
Choose where the file is
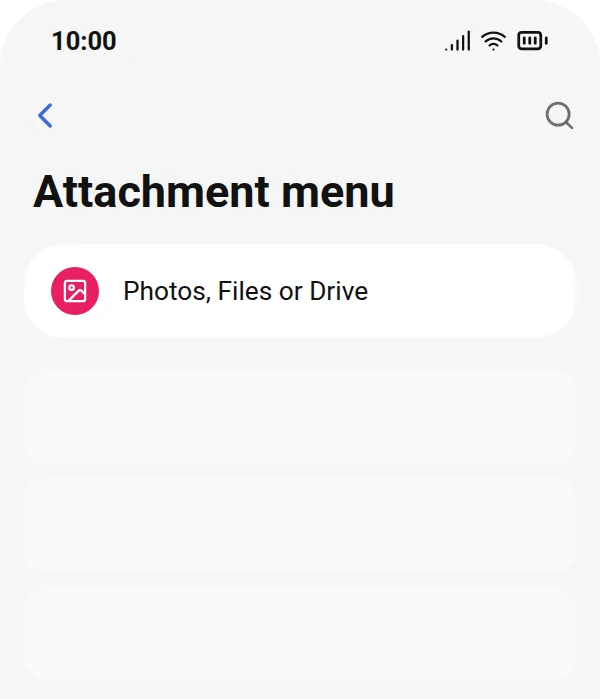
Tap Photos for a picture, Files for a document, or Drive for something saved in Google Drive.
STEP 8
Select your item
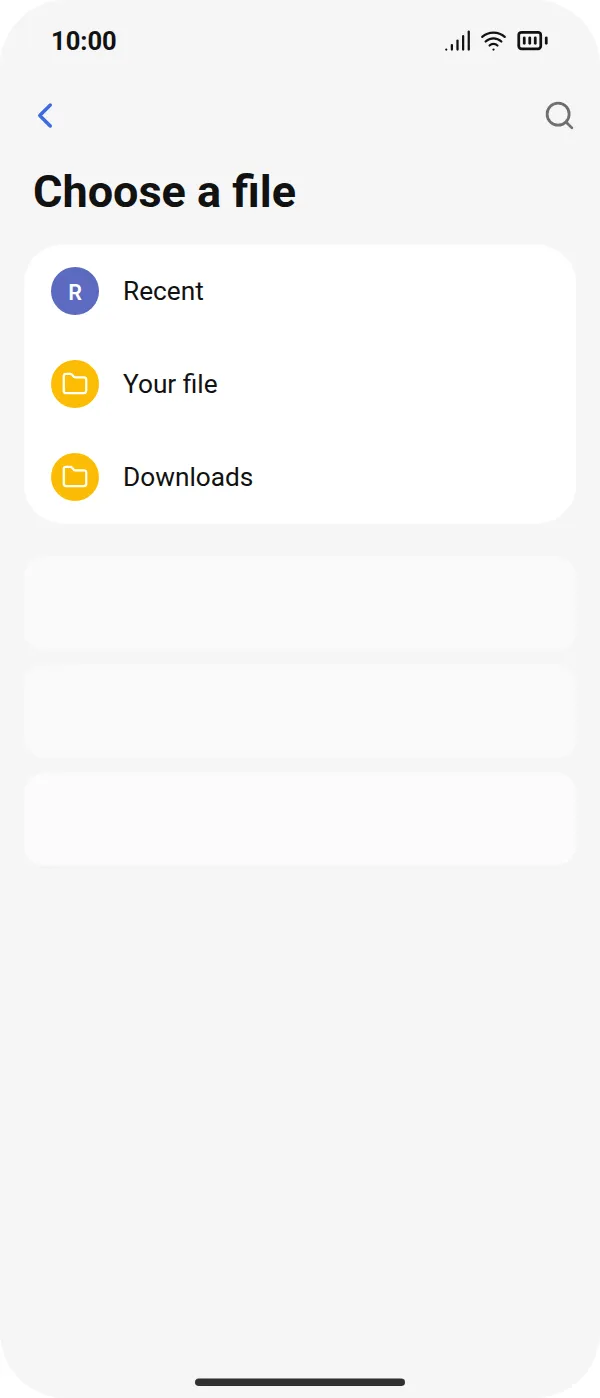
Tap the photo or file you want to attach.
STEP 9
Check and send
Check that the correct file is attached and the recipient is right. Tap the Send arrow when ready.
For a personal Gmail account, attachments over 25 MB are sent as a Google Drive link. Check that the recipient can open the shared file.
Check your own recipient and attachment before using the labelled Send icon. The dog photo and addresses are examples. This is a draft; it does not show successful delivery.
IF SOMETHING LOOKS DIFFERENT
A little help along the way.
Your menus may look different after an update. Look for the same control name and take your time.
I cannot find that option+
Check that this guide covers your device and software. If the names do not match, use the manufacturer’s instructions linked below for your model.
I need to go back a step+
Use Previous step or select a step number above. This changes the guide only; it does not undo anything on your device.
Are these pictures of my device?+
They are example screens showing exactly where to tap. Your names, apps, wallpaper and layout may look a little different, but the options you need are the same. Some pictures show what you should see after a step.