SMALL STEPS. USEFUL SKILLS.
Back up your files
Use Time Machine to keep a safe copy of your Mac.
Use the pictures where shown. Follow the short instructions between them.
STEP 1 OF 13
Connect a backup drive
Connect your external drive. Apple recommends a drive with at least twice your Mac’s storage capacity.
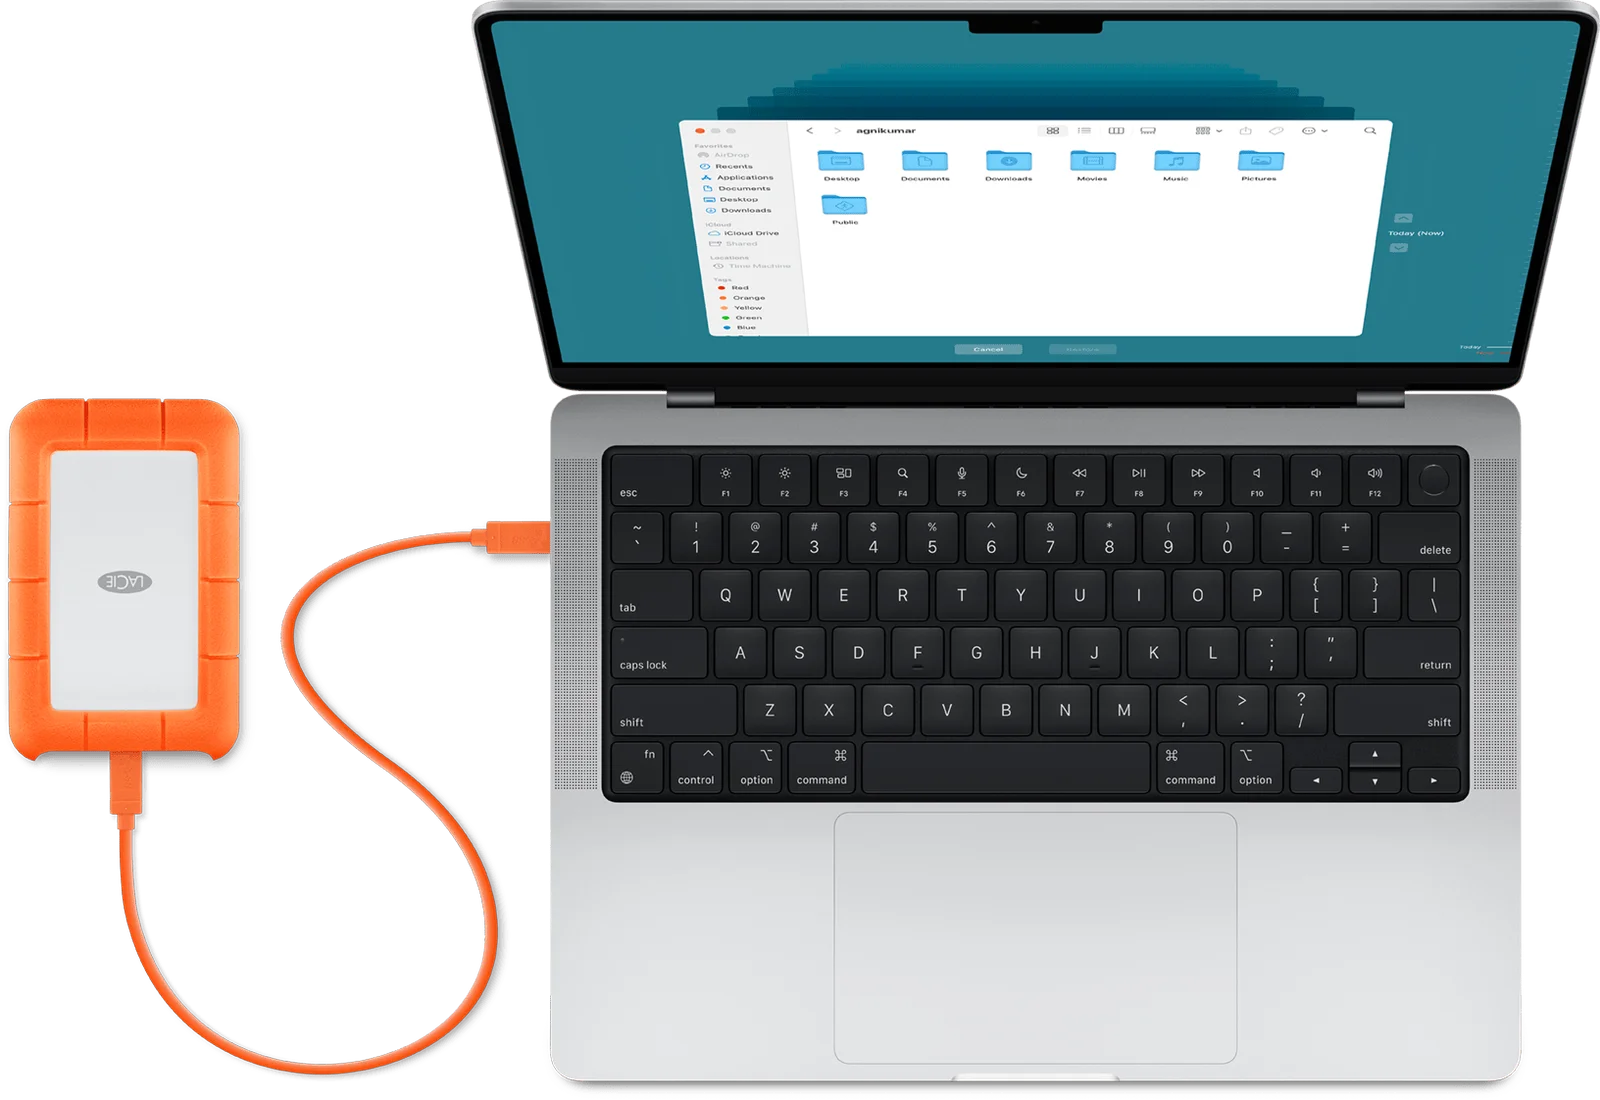
This illustrates an external drive connected by cable. The screen shows a backup browser, not the setup page you are about to open. Your drive and port may look different.
Prefer to see all the steps together?+
STEP 1
Connect a backup drive
Connect your external drive. Apple recommends a drive with at least twice your Mac’s storage capacity.
This illustrates an external drive connected by cable. The screen shows a backup browser, not the setup page you are about to open. Your drive and port may look different.
STEP 2
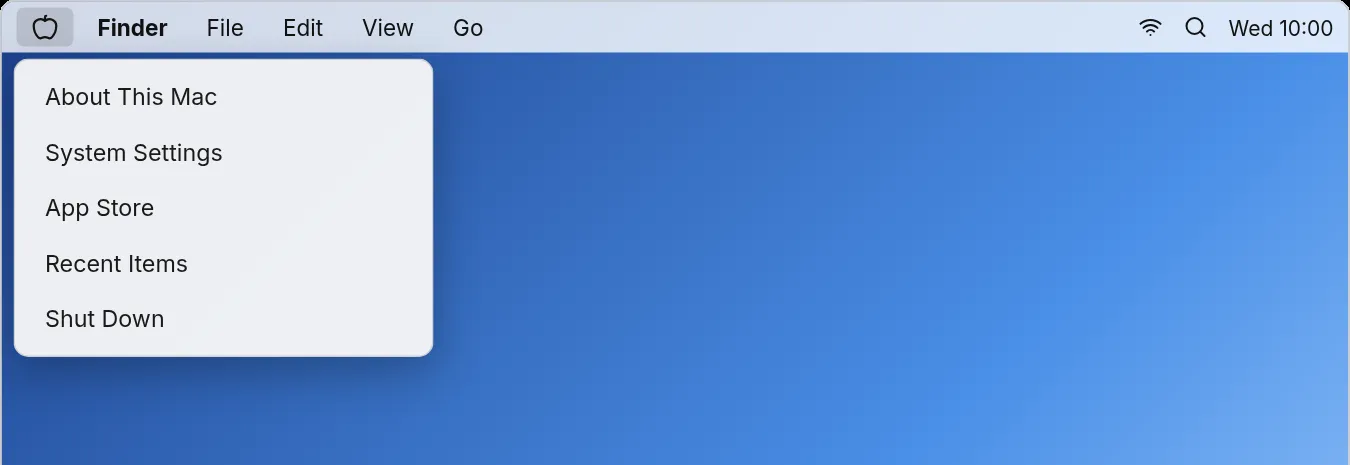
Open the Apple menu
Click the Apple logo in the top-left corner of the screen.

STEP 3
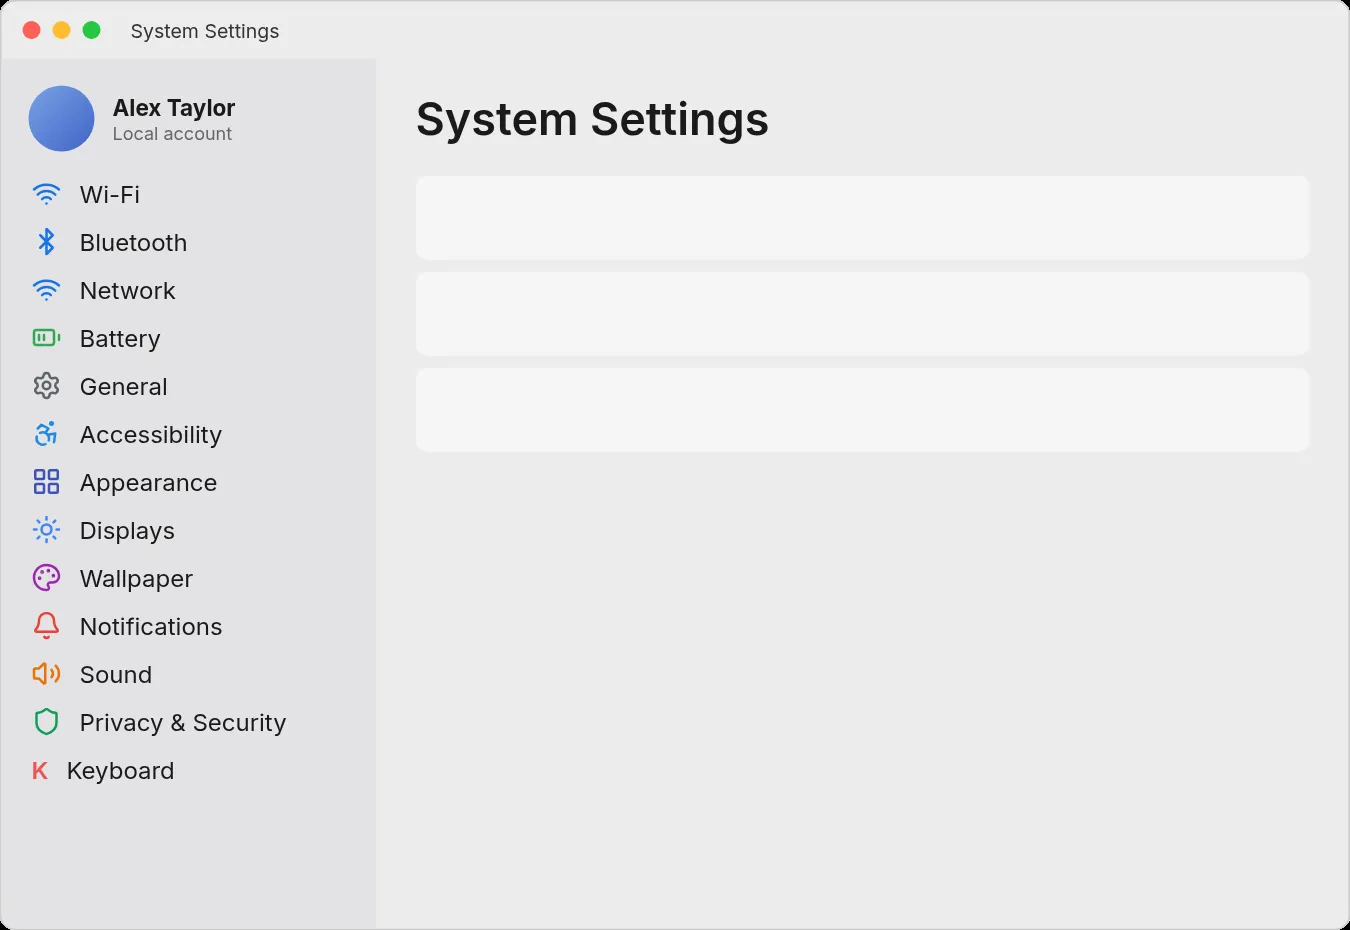
Open System Settings
Click System Settings.
STEP 4
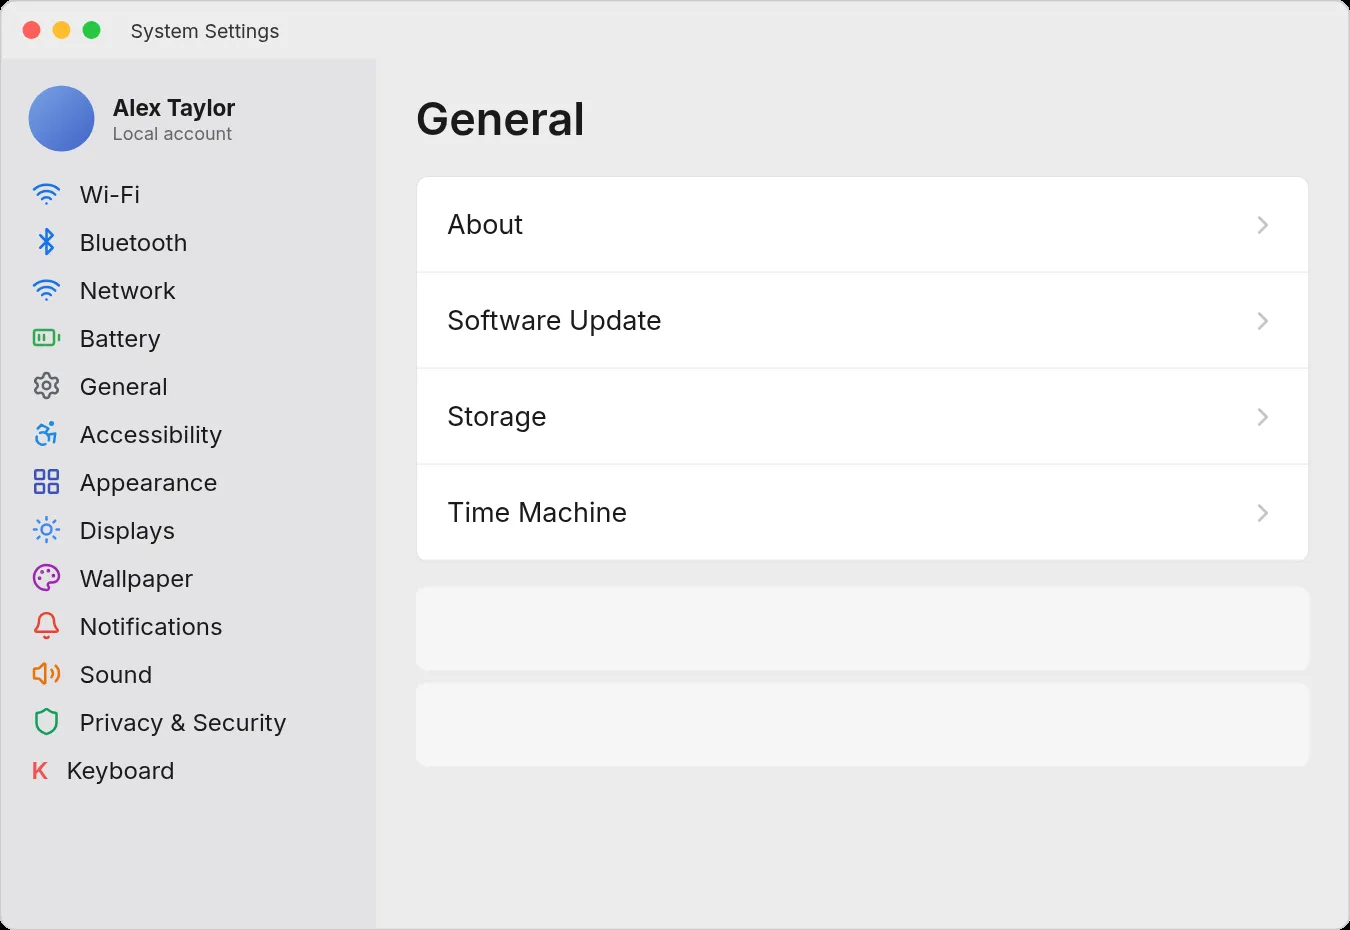
Open General
In the sidebar on the left, click General.
STEP 5
Click Time Machine
STEP 6
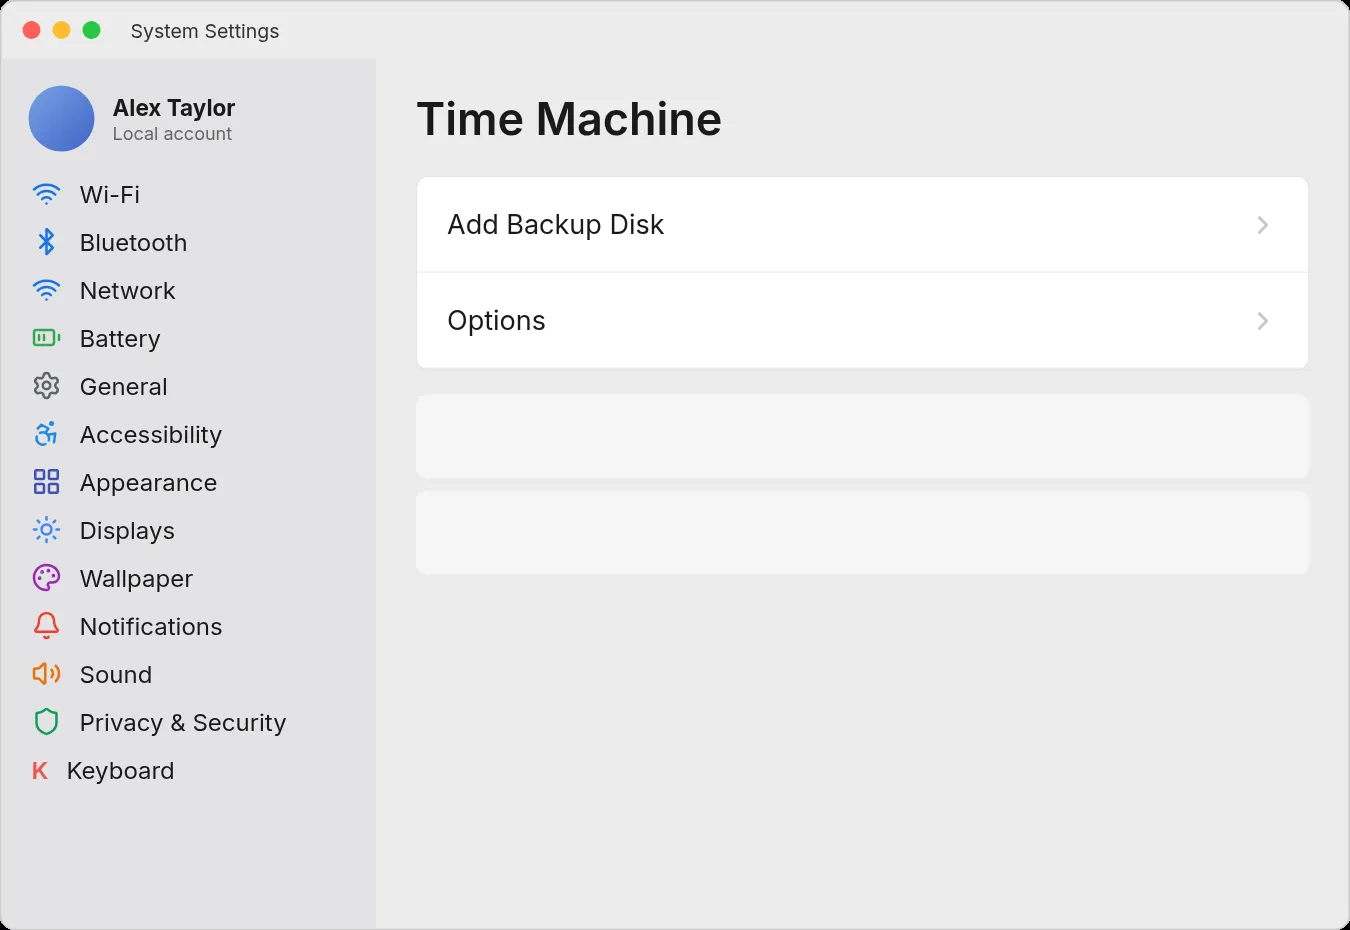
Click Add Backup Disk
Click Add Backup Disk, or the plus (+) button.
STEP 7
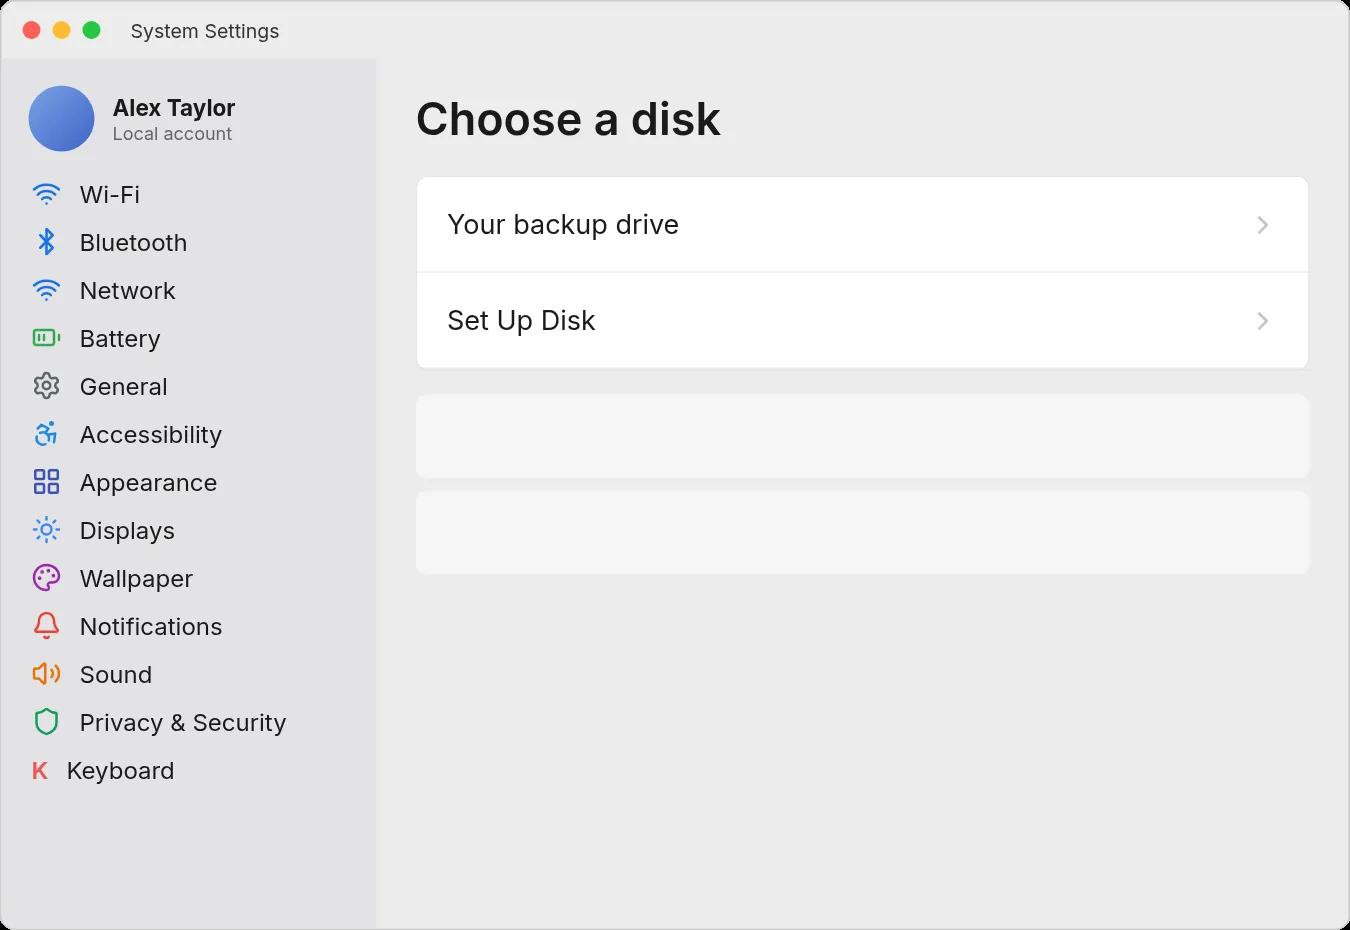
Select your drive
Click your backup drive in the list.
STEP 8
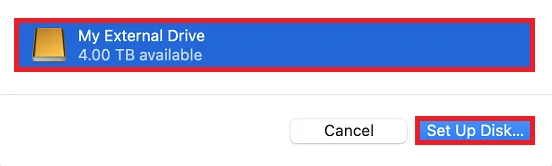
Click Set Up Disk
My External Drive and 4 TB are examples. Select the name of your own drive, then Set Up Disk. Check its contents first: setup may erase it.
STEP 9
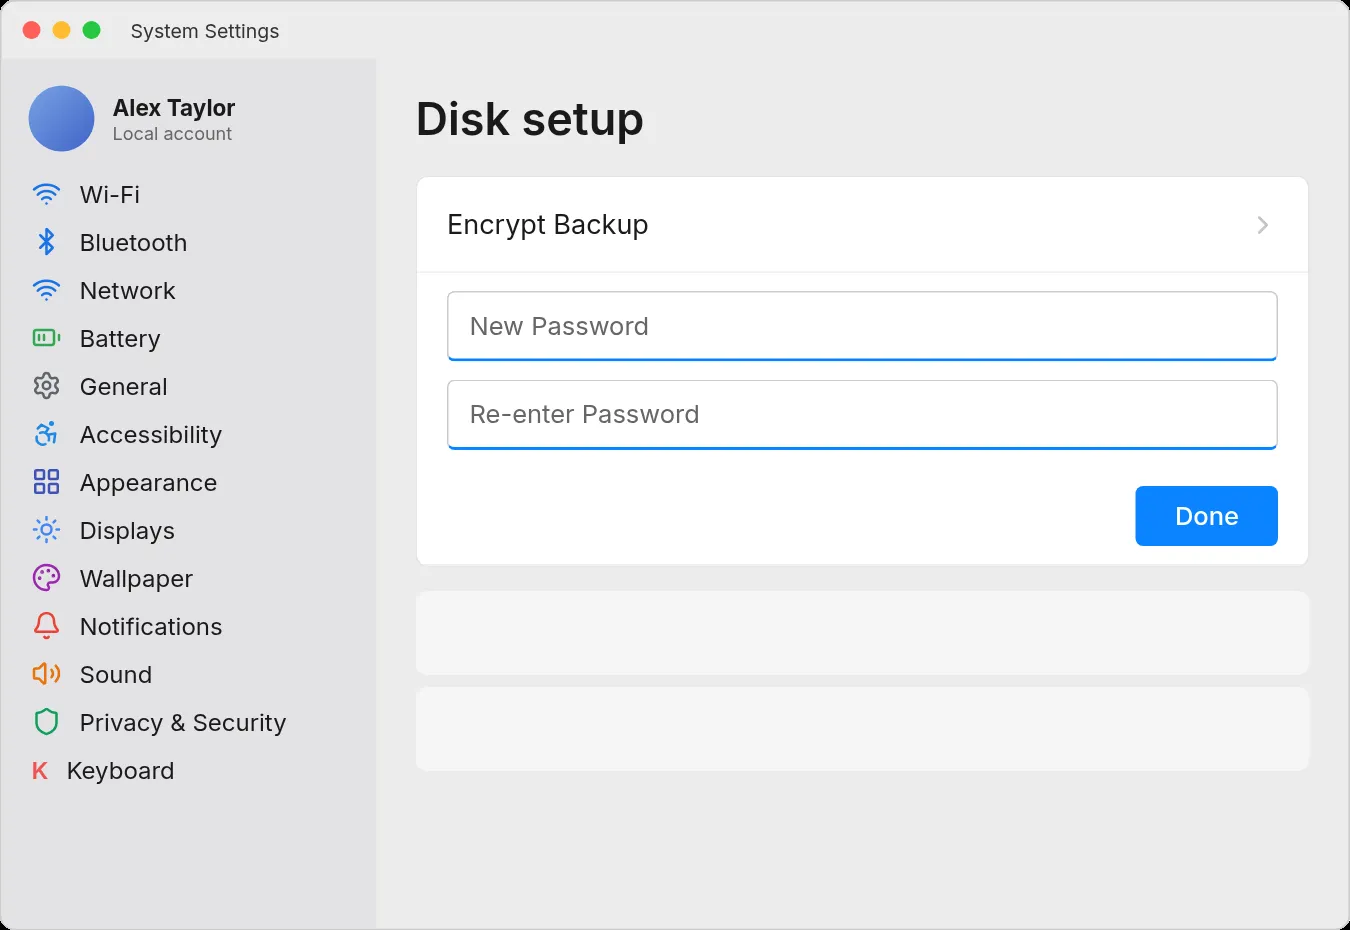
Encrypt it — optional
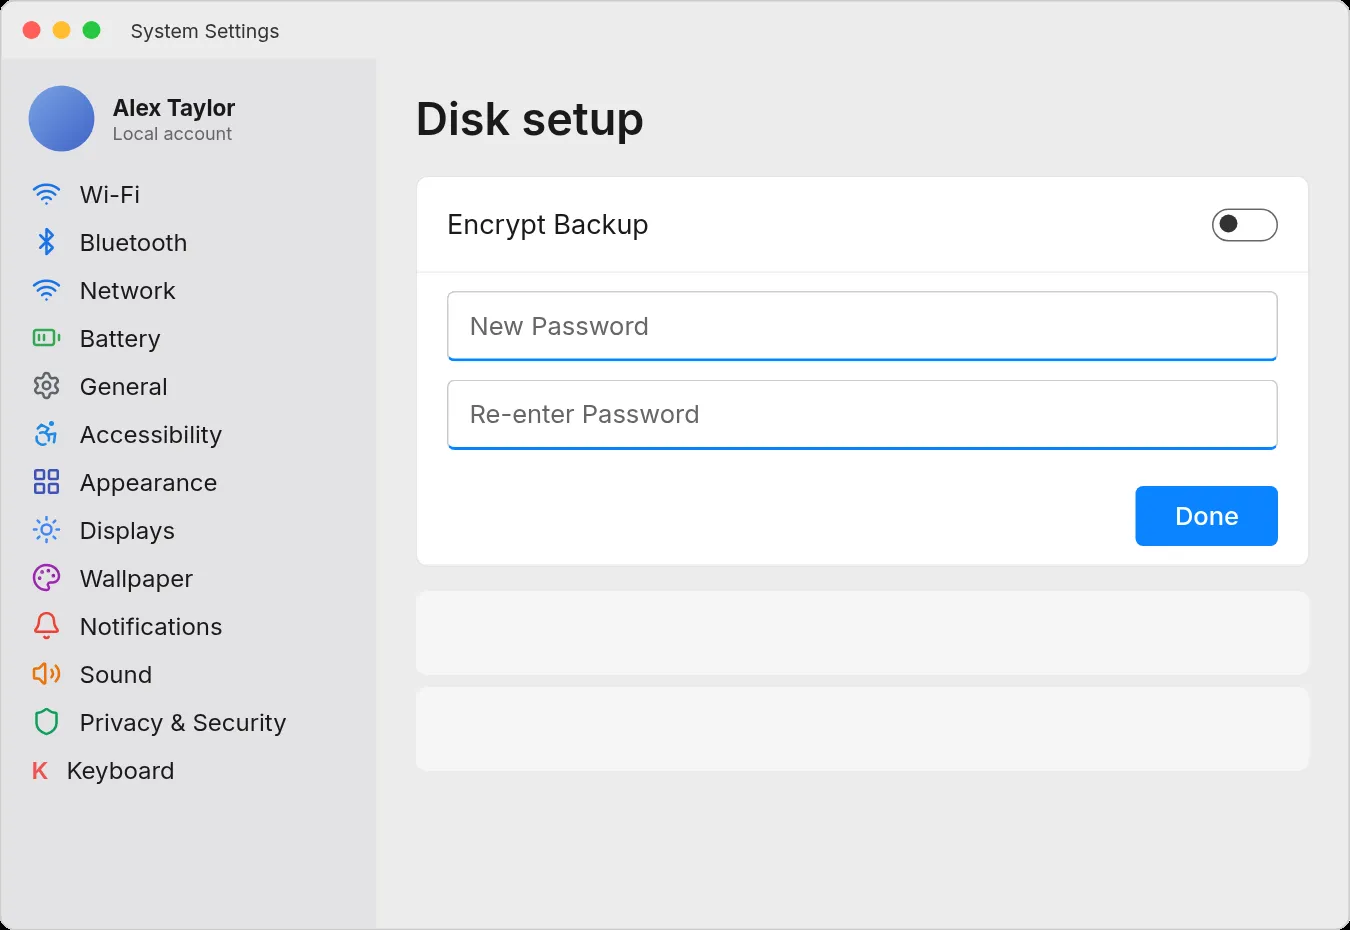
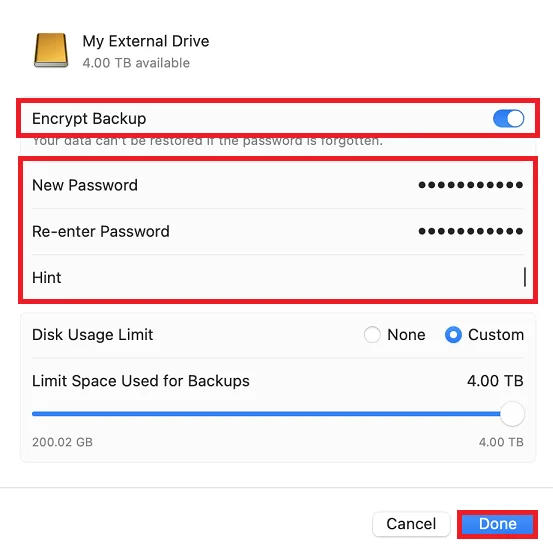
To protect the backup with a password, turn on Encrypt Backup.
STEP 10
Create a password
Type your own password twice, then add a hint that will help you remember it.
STEP 11
Click Done
You can also set a storage limit here if you need one.
This shows encryption options, not an erase confirmation. The filled password and 4 TB custom limit are examples; use your own password and storage choice. Any erase prompt must be checked separately.
STEP 12
Let the backup finish
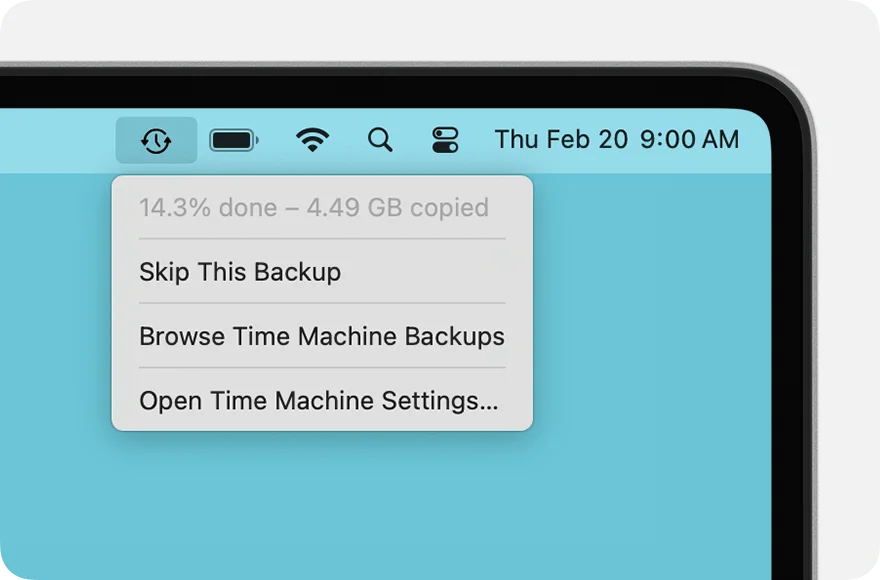
Keep the drive connected. Time Machine starts backing up after setup. Its menu shows progress.
A cropped menu showing a backup still in progress. The percentage and copied amount are examples; do not treat them as a completed backup.
STEP 13
Check the latest backup
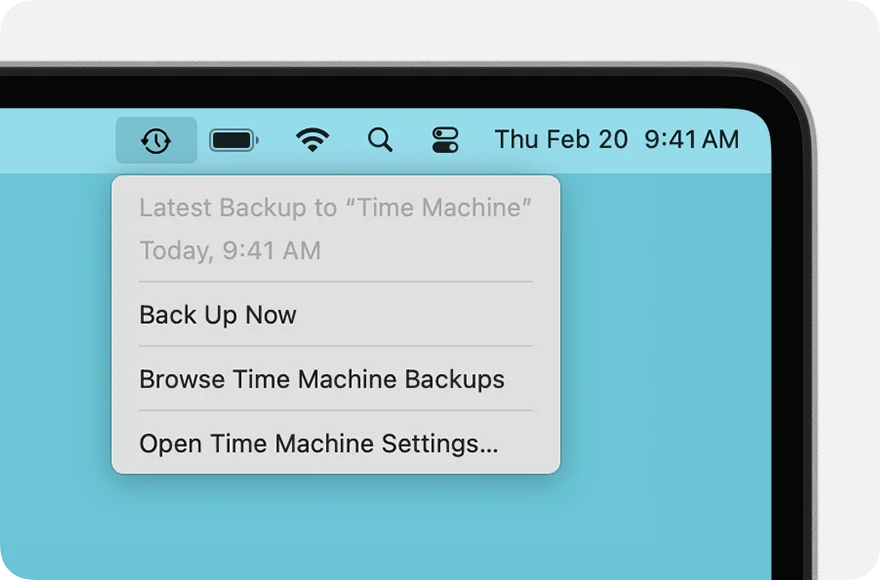
Open the Time Machine menu and check the date and time of the latest completed backup.
A progress percentage means it has not finished. Your first backup can take a while.
A completed backup shows its latest date and time at the top. This example says Today, 9:41 AM; check the actual date on your Mac.
IF SOMETHING LOOKS DIFFERENT
A little help along the way.
Your menus may look different after an update. Look for the same control name and take your time.
I cannot find that option+
Check that this guide covers your device and software. If the names do not match, use the manufacturer’s instructions linked below for your model.
I need to go back a step+
Use Previous step or select a step number above. This changes the guide only; it does not undo anything on your device.
Are these pictures of my device?+
They are example screens showing exactly where to click. Your names, apps, wallpaper and layout may look a little different, but the options you need are the same. Some pictures show what you should see after a step.