SMALL STEPS. USEFUL SKILLS.
Take a screenshot
Save a picture of your whole screen using the Screenshot toolbar.
Use the pictures where shown. Follow the short instructions between them.
STEP 1 OF 7
Open Screenshot
Hold Shift and Command, then press 5. Release the keys when the toolbar appears.

Hold Shift and Command, then press 5. This is a key diagram, not a picture of your own keyboard.
Need a little more help?+
Press Escape if you want to cancel.
Prefer to see all the steps together?+
STEP 1
Open Screenshot
Hold Shift and Command, then press 5. Release the keys when the toolbar appears.
Press Escape if you want to cancel.
Hold Shift and Command, then press 5. This is a key diagram, not a picture of your own keyboard.
STEP 2
Choose the whole screen
Click Capture Entire Screen, the first screen-shaped button after the close button.
This guide follows one complete route: a still picture of the whole screen.
A close-up of the Screenshot toolbar. Capture Entire Screen is already selected here. The buttons with small circles further right record video instead.

STEP 3
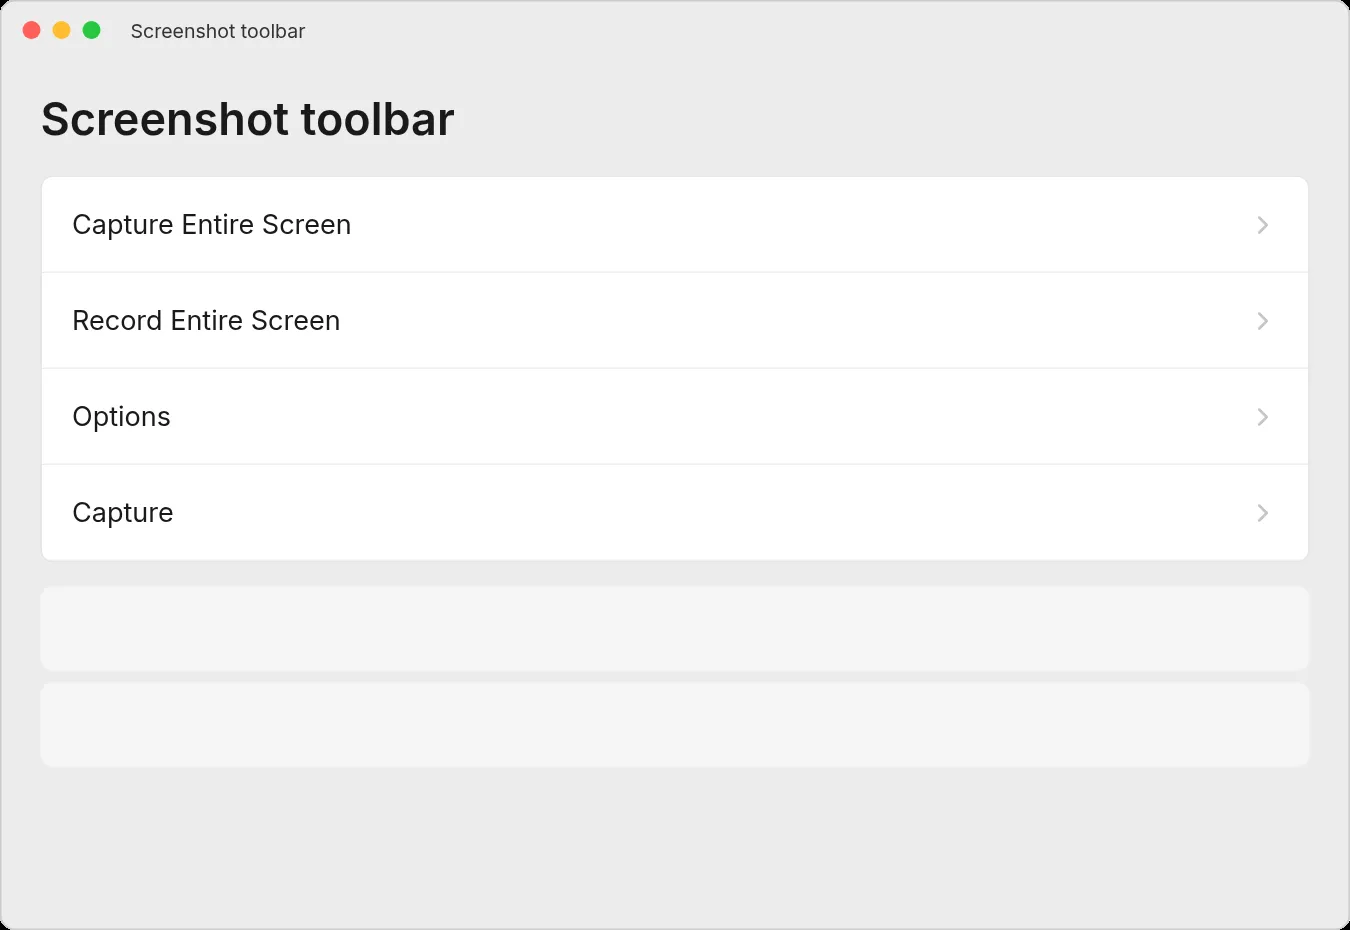
Click Options
Click Options in the toolbar.
STEP 4
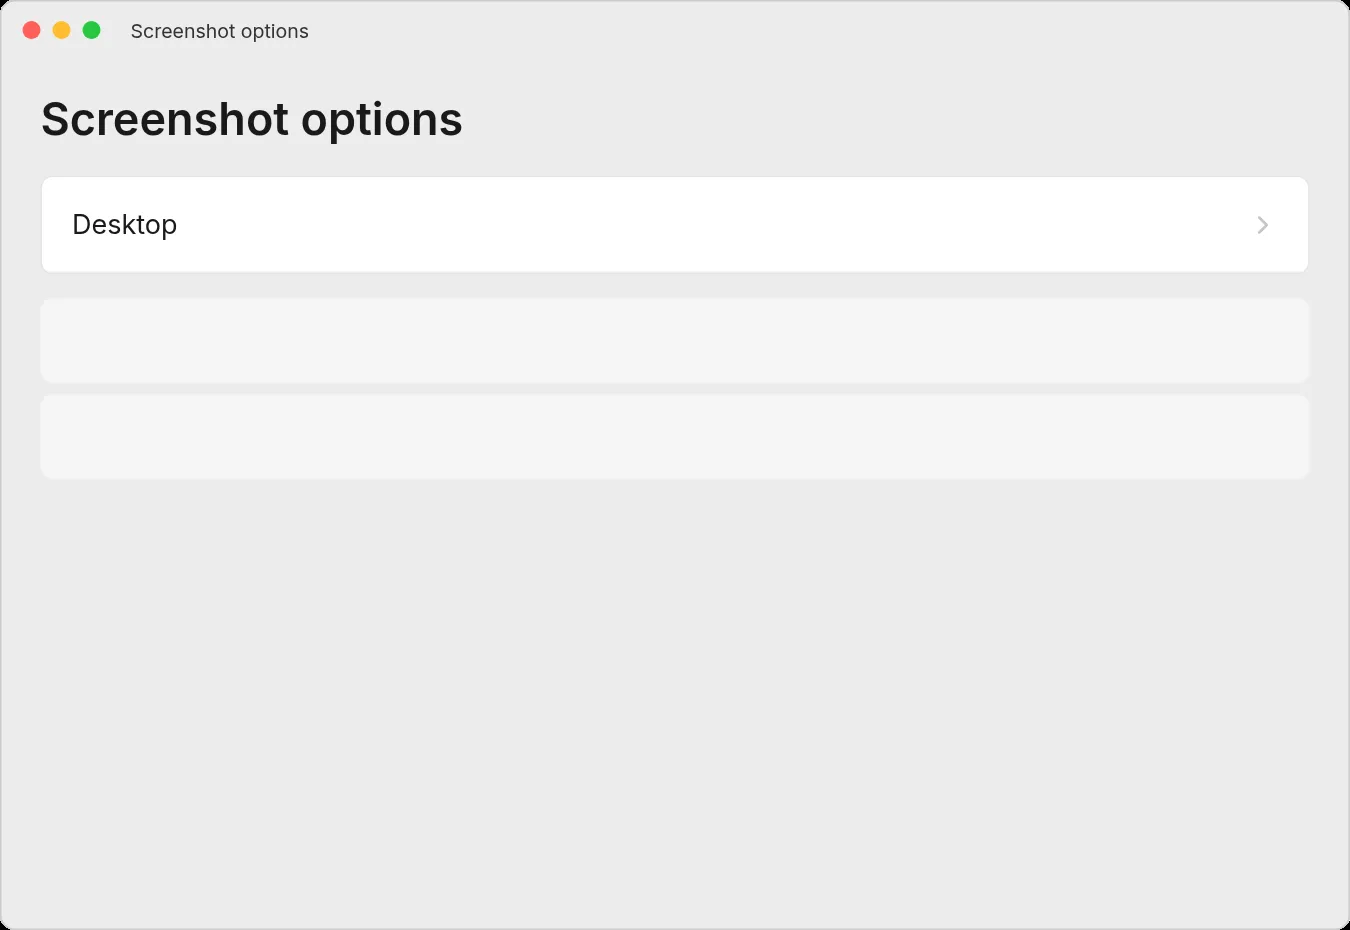
Choose Desktop
Under Save to, click Desktop.
STEP 5
Close the menu
Click anywhere outside the menu to close it.
STEP 6
Take the picture
Click Capture.
The whole-screen option is selected. Click Capture to save the picture to the location you chose in Options.
STEP 7
Find the saved picture
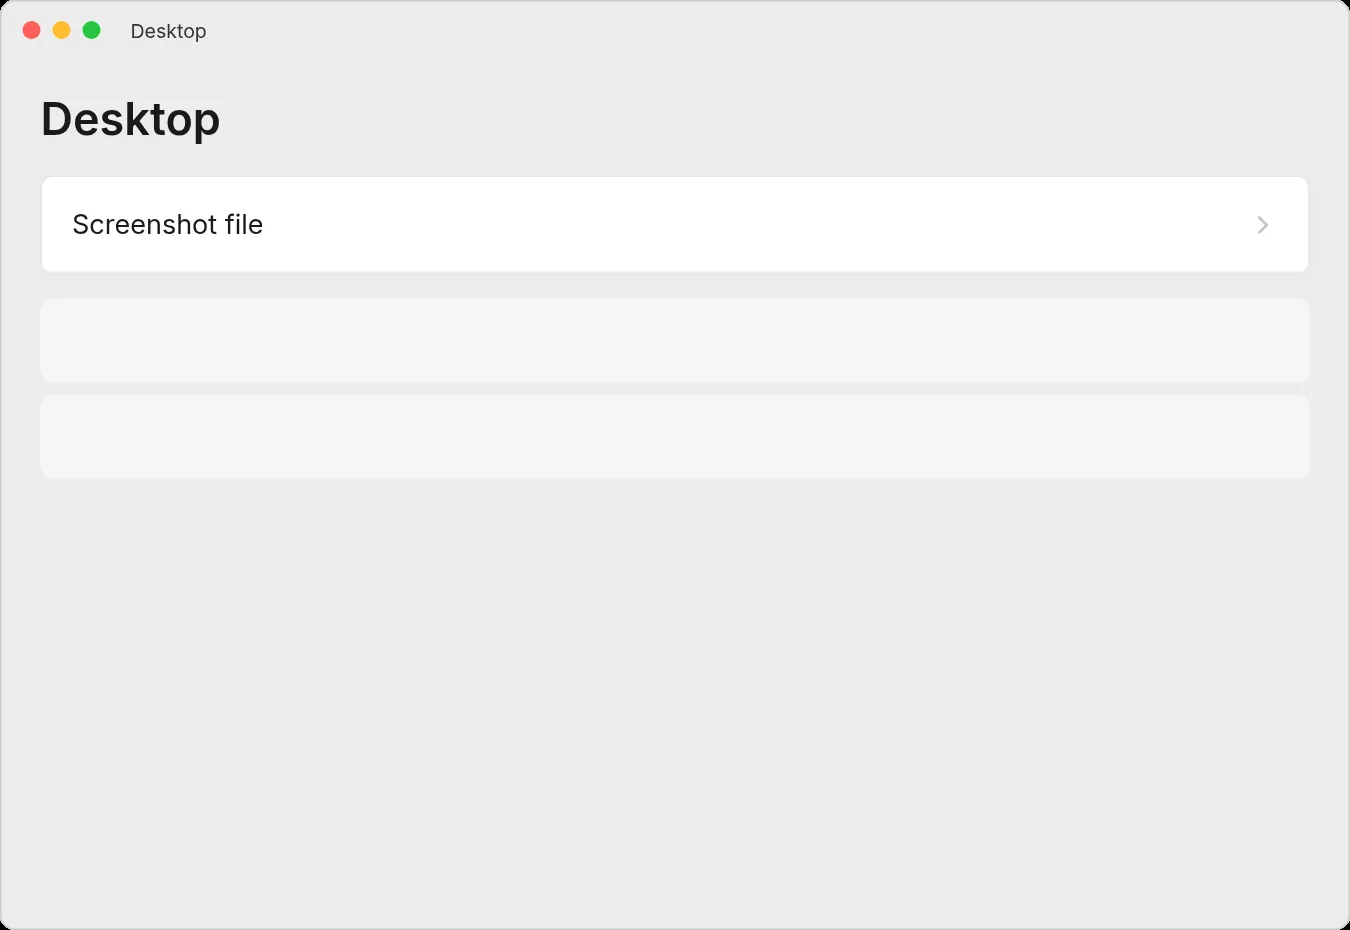
Wait for the small preview to disappear, then find the screenshot on your desktop. Open it to check the result.
For just part of the screen next time, choose Capture Selected Portion and adjust the frame before clicking Capture.
IF SOMETHING LOOKS DIFFERENT
A little help along the way.
Your menus may look different after an update. Look for the same control name and take your time.
I cannot find that option+
Check that this guide covers your device and software. If the names do not match, use the manufacturer’s instructions linked below for your model.
I need to go back a step+
Use Previous step or select a step number above. This changes the guide only; it does not undo anything on your device.
Are these pictures of my device?+
They are example screens showing exactly where to click. Your names, apps, wallpaper and layout may look a little different, but the options you need are the same. Some pictures show what you should see after a step.