SMALL STEPS. USEFUL SKILLS.
Turn on Energy saver
Help your battery last longer between charges.
Use the pictures where shown. Follow the short instructions between them.
STEP 1 OF 6
Open Start
Select the Start button (the Windows logo) on the taskbar.

Prefer to see all the steps together?+
STEP 1
Open Start
Select the Start button (the Windows logo) on the taskbar.
STEP 2
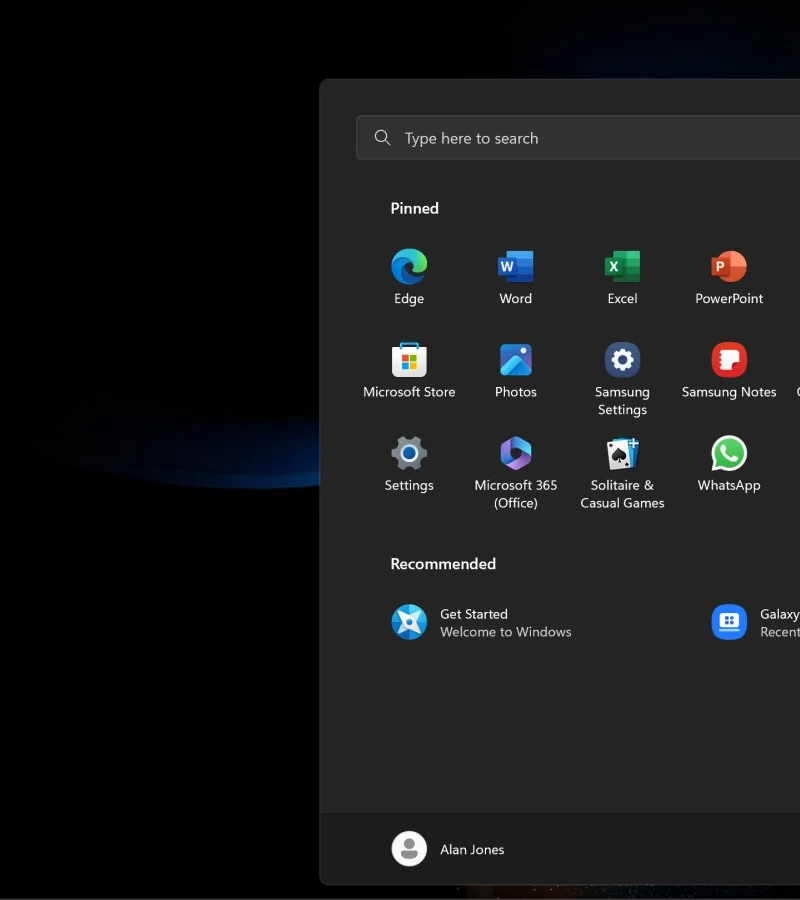
Open Settings
Select Settings (the cog).
STEP 3
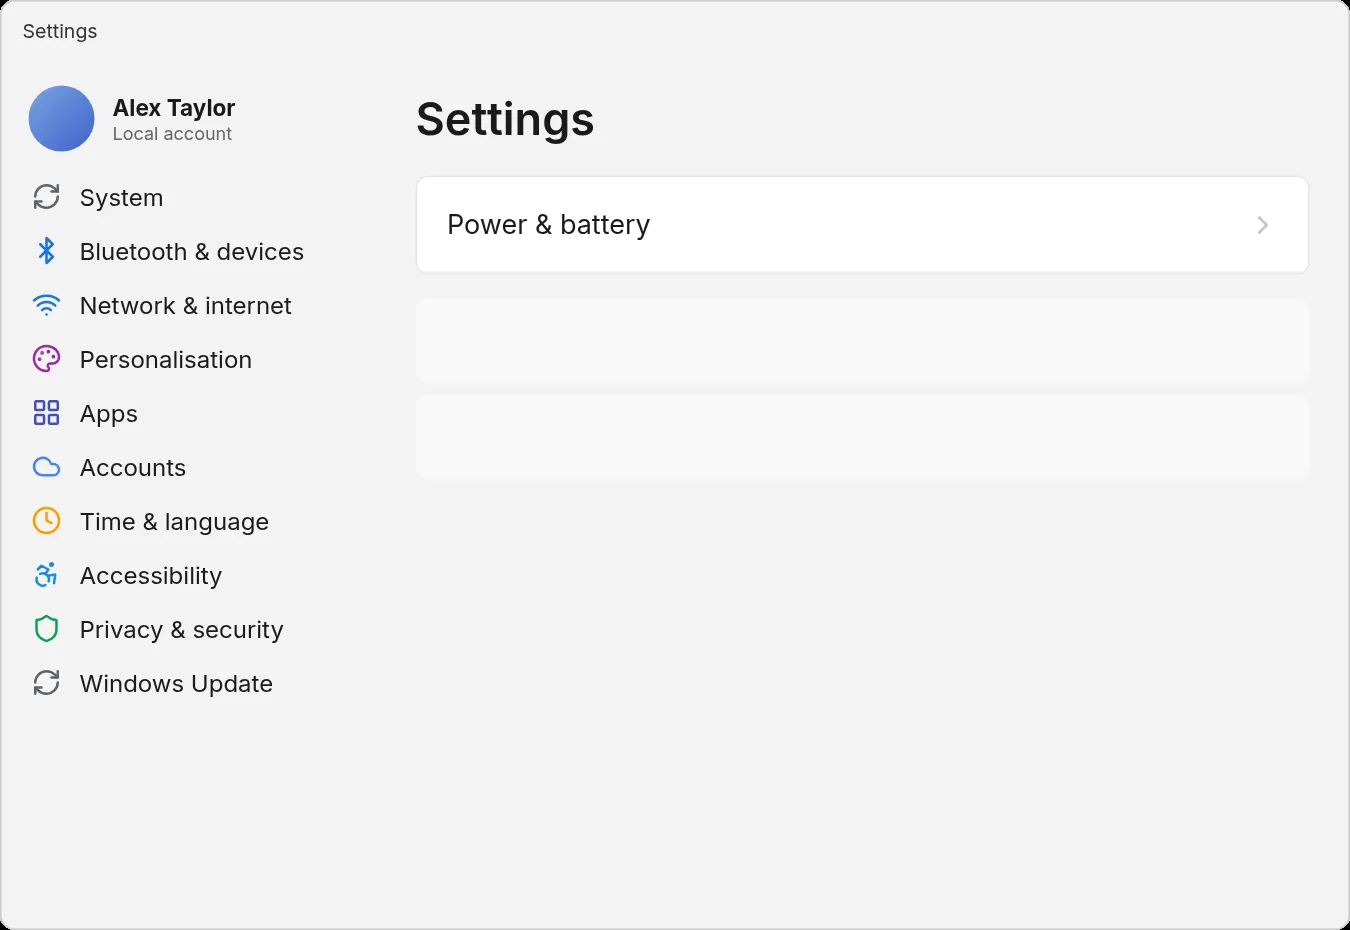
Open Power & battery
Settings opens on the System page. Select Power & battery.
If you see a Home page instead, select System on the left first.
STEP 4
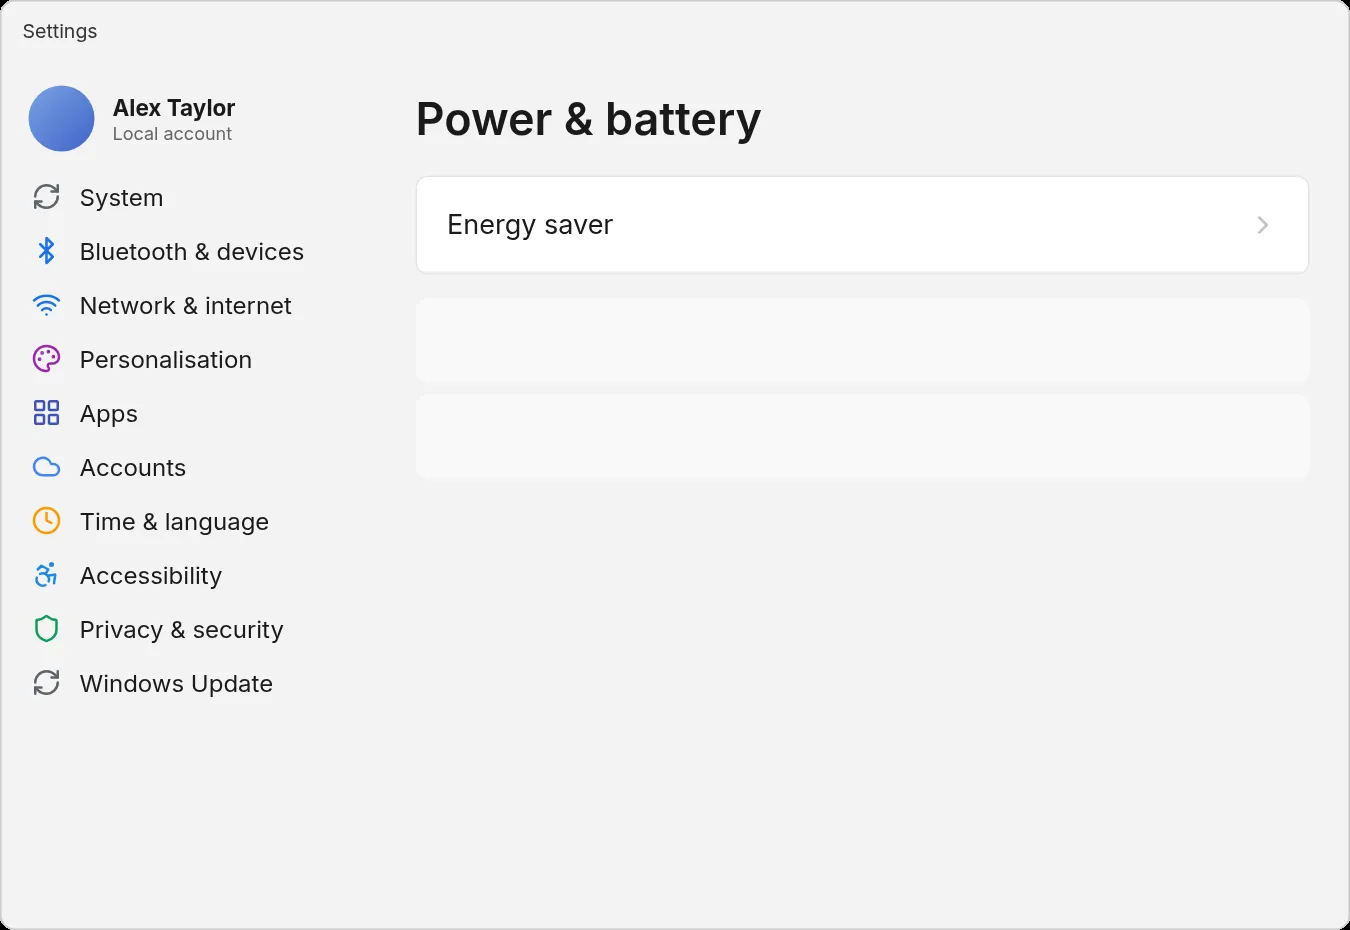
Open Energy saver
Select Energy saver to expand its settings.
On an older Windows 11 version, look for Battery saver instead.
STEP 5
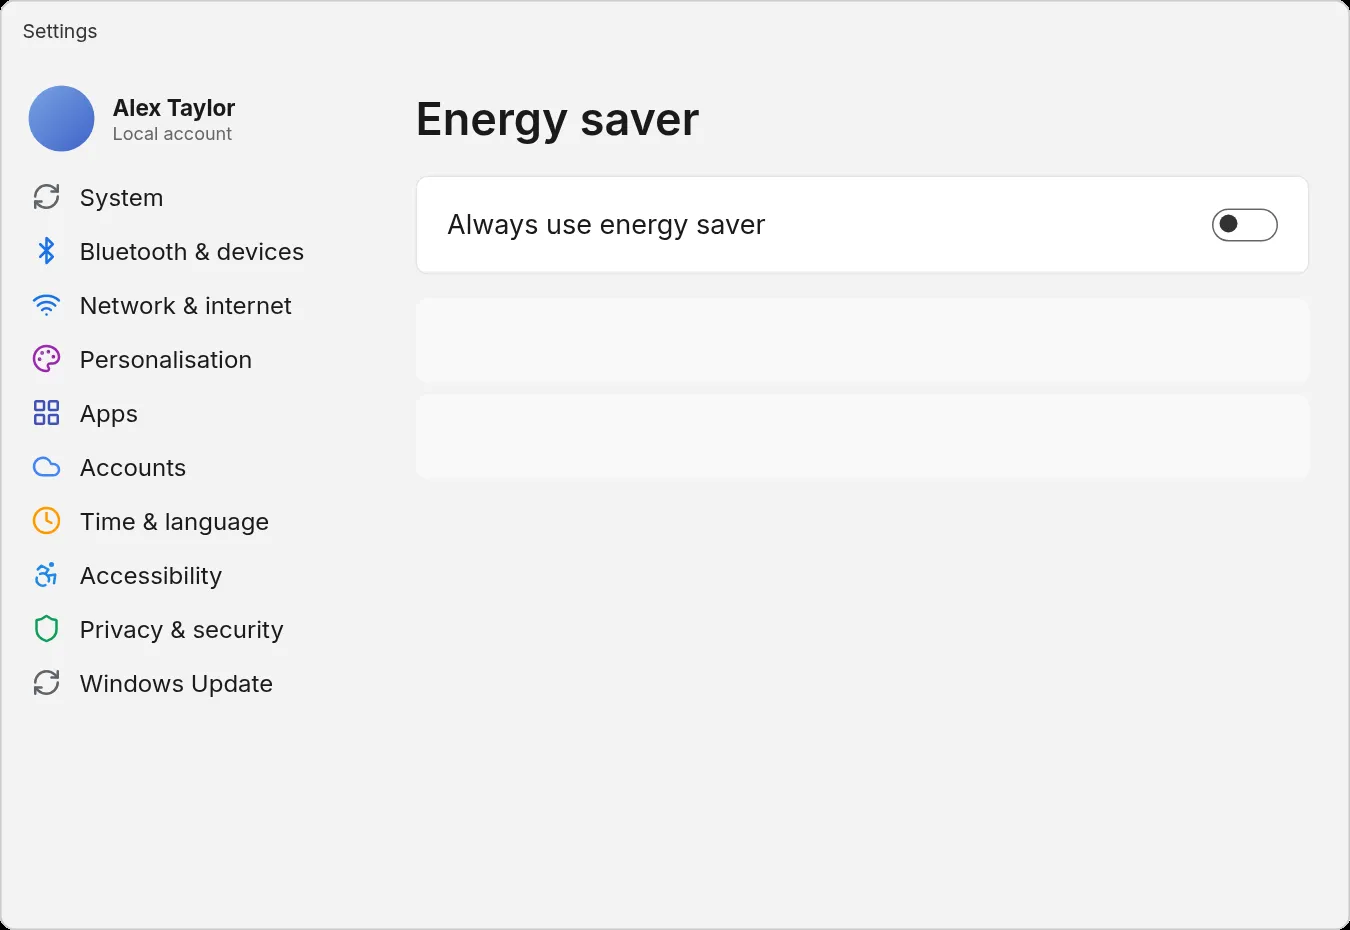
Switch it on
Turn on Always use energy saver.
On an older version you will see Battery saver instead — select Turn on now.
STEP 6
Choose an automatic starting point
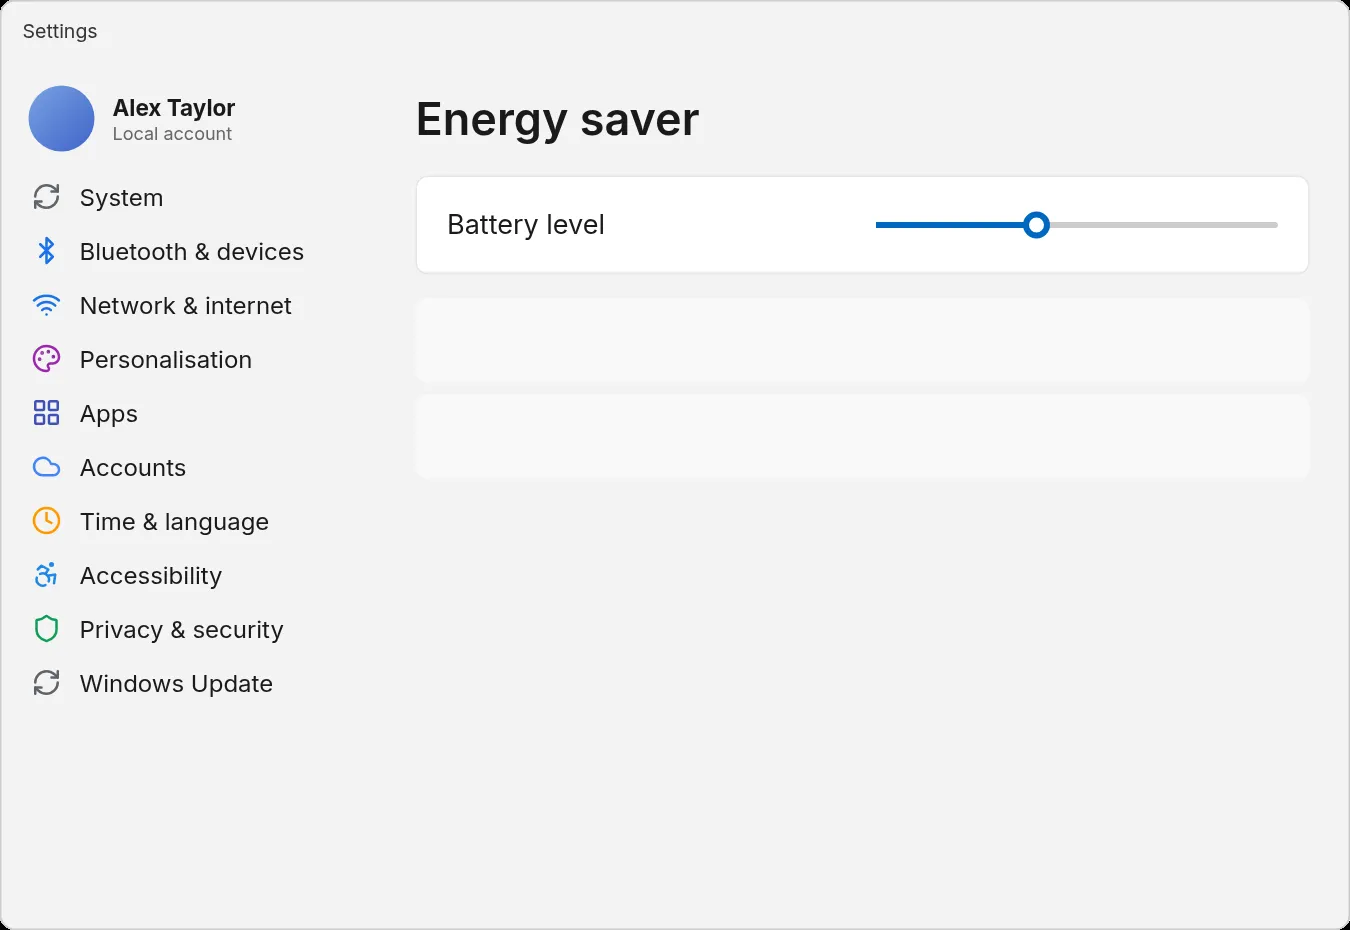
To use it only when the battery gets low, turn off Always use energy saver and choose a percentage under Turn energy saver on when battery level is at.
Energy saver reduces background activity. You can also choose whether it lowers the screen brightness.
IF SOMETHING LOOKS DIFFERENT
A little help along the way.
Your menus may look different after an update. Look for the same control name and take your time.
I cannot find that option+
Check that this guide covers your device and software. If the names do not match, use the manufacturer’s instructions linked below for your model.
I need to go back a step+
Use Previous step or select a step number above. This changes the guide only; it does not undo anything on your device.
Are these pictures of my device?+
They are example screens showing exactly where to tap. Your names, apps, wallpaper and layout may look a little different, but the options you need are the same. Some pictures show what you should see after a step.