SMALL STEPS. USEFUL SKILLS.
Connect to Wi-Fi
Join a home, work or public wireless network.
Use the pictures where shown. Follow the short instructions between them.
STEP 1 OF 5
Open Quick Settings
Select the Network, Sound or Battery area beside the clock.

Prefer to see all the steps together?+
STEP 1
Open Quick Settings
Select the Network, Sound or Battery area beside the clock.
STEP 2
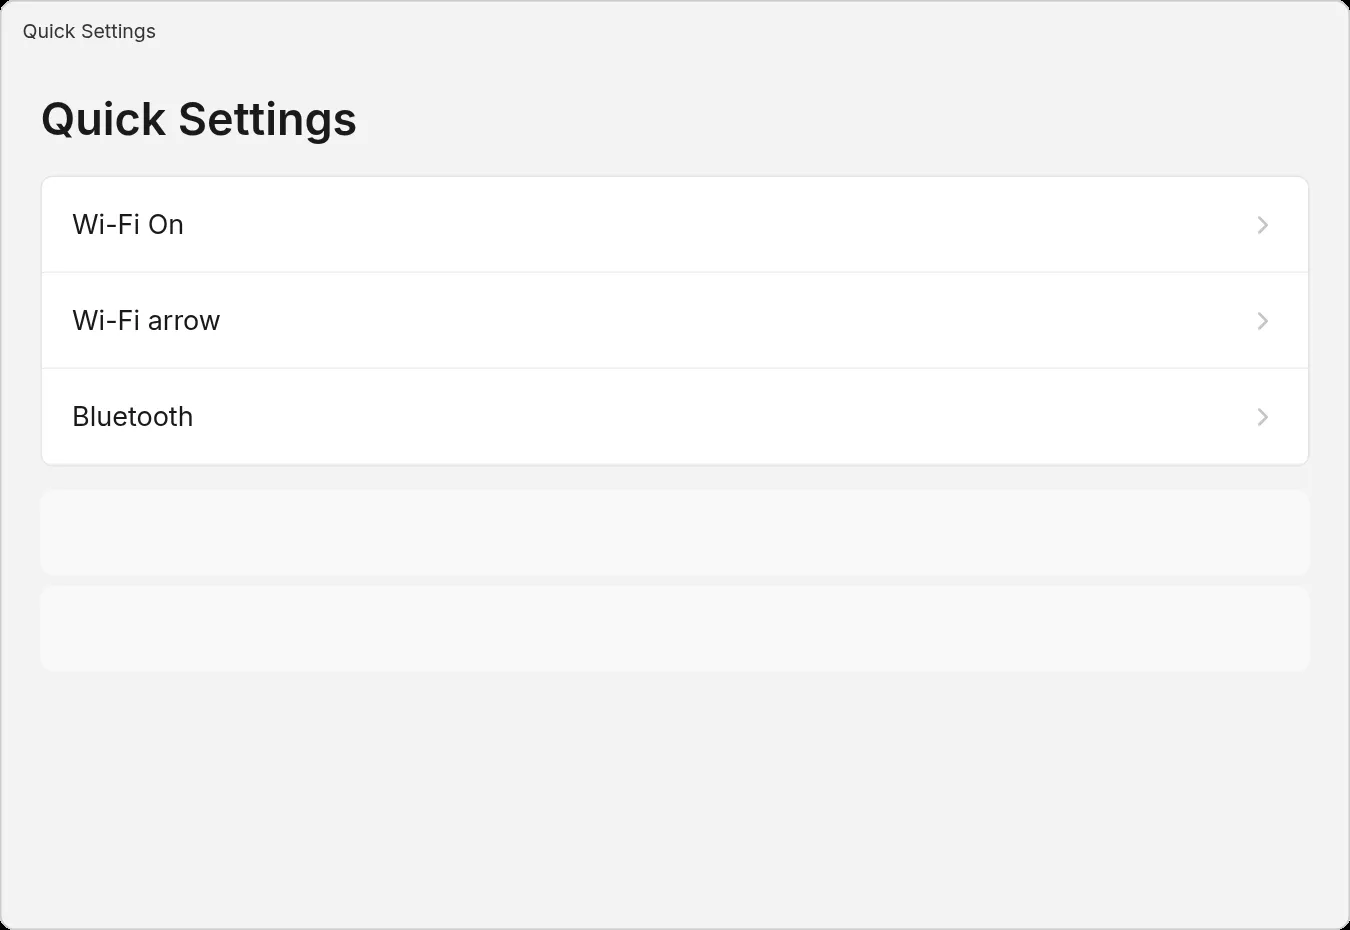
Open Wi-Fi networks
Select the arrow beside Wi-Fi and make sure Wi-Fi is on.
STEP 3
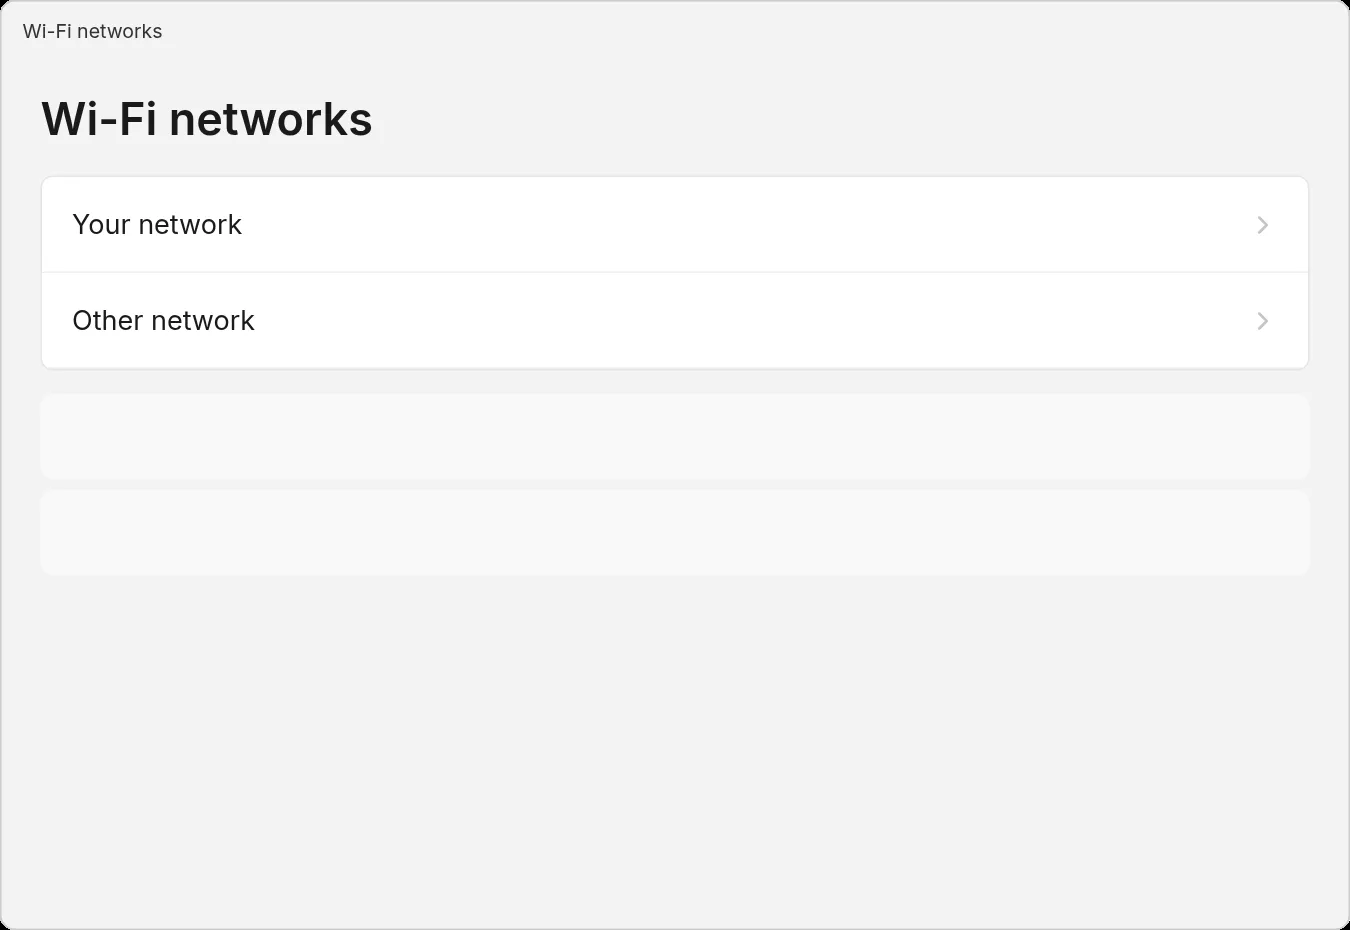
Select your network
Select your network's name.
STEP 4
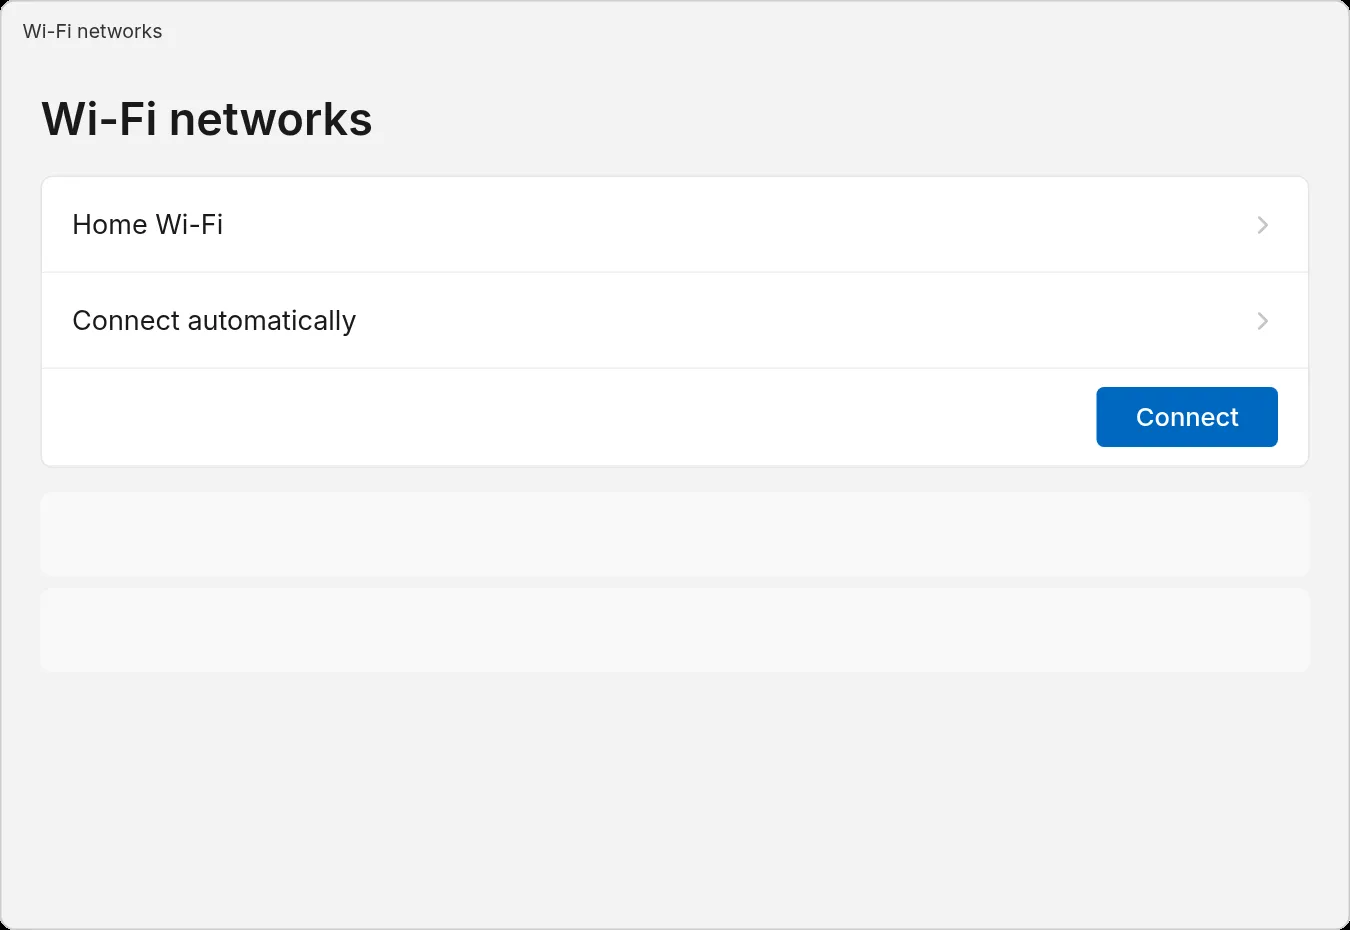
Select Connect
STEP 5
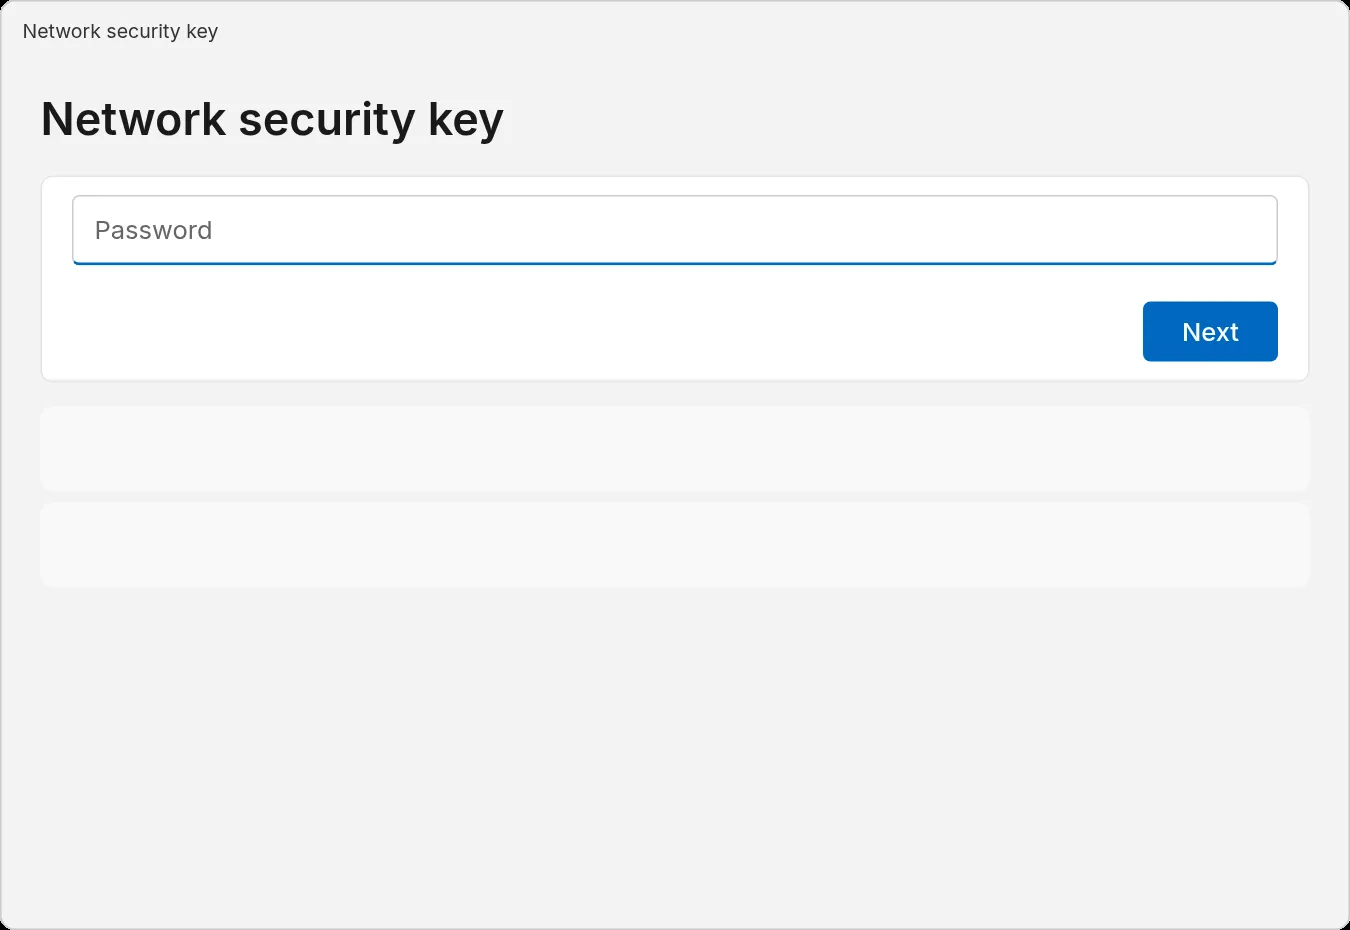
Enter the password
Type the Wi-Fi password and select Next.
IF SOMETHING LOOKS DIFFERENT
A little help along the way.
Your menus may look different after an update. Look for the same control name and take your time.
I cannot find that option+
Check that this guide covers your device and software. If the names do not match, use the manufacturer’s instructions linked below for your model.
I need to go back a step+
Use Previous step or select a step number above. This changes the guide only; it does not undo anything on your device.
Are these pictures of my device?+
They are example screens showing exactly where to tap. Your names, apps, wallpaper and layout may look a little different, but the options you need are the same. Some pictures show what you should see after a step.